Getting Started
Your first steps with OctoMY™
Getting started
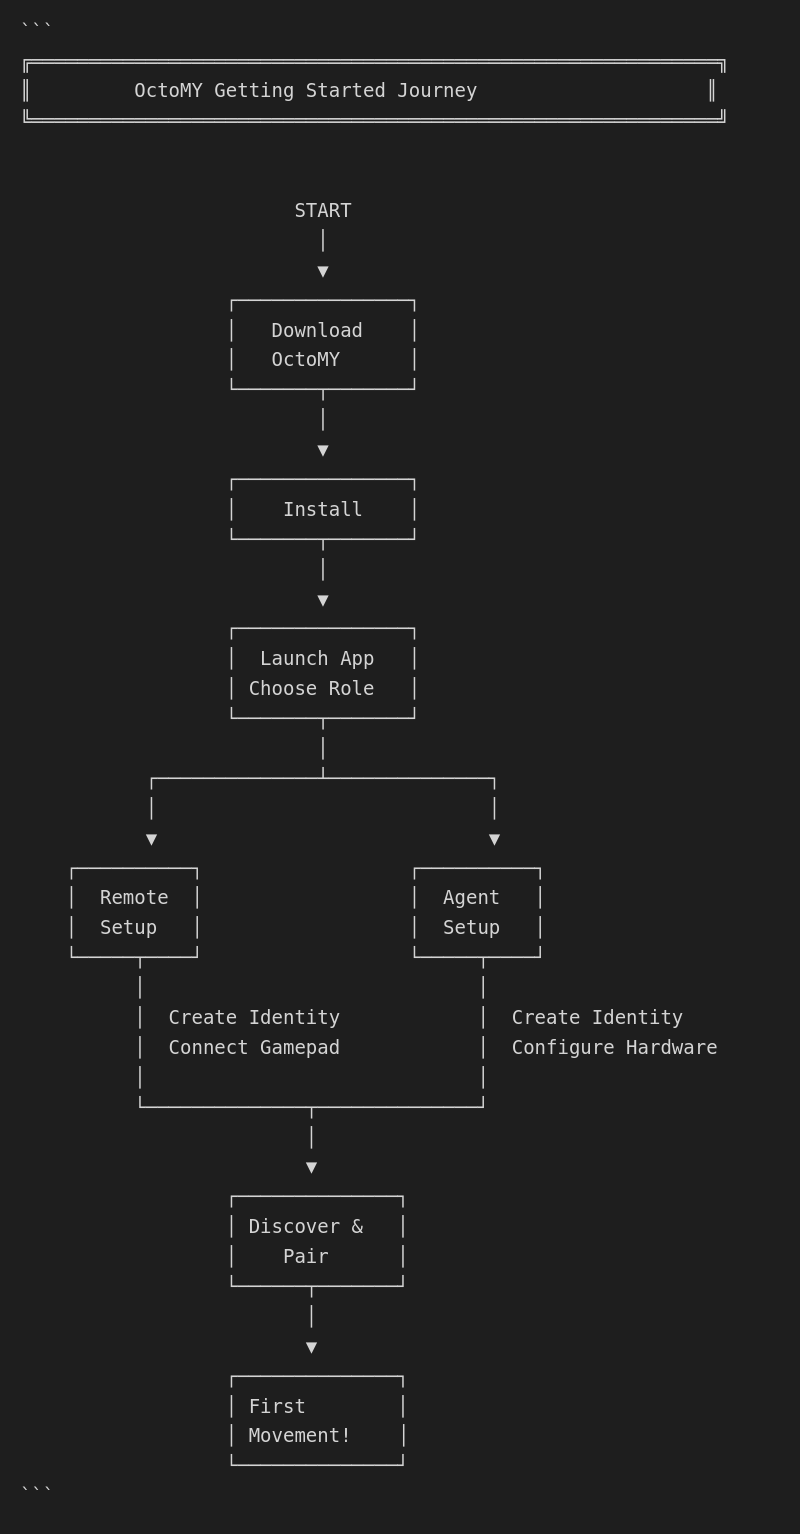
This tutorial series takes you from zero to a working OctoMY™ setup. Complete these in order.
Welcome to OctoMY™!
This getting started series is designed for complete beginners. Each tutorial builds on the previous one, so follow them in sequence. By the end, you'll have a functioning robot control system and understand the basics of OctoMY™.
Tutorials
| Order | Tutorial | Description |
|---|---|---|
| 1 | Installation | Install OctoMY™ on your device |
| 2 | Your first Agent | Set up and configure an Agent node |
| 3 | Your first Remote | Set up a Remote controller |
| 4 | First connection | Pair Agent and Remote, send first command |
Prerequisites
- A computer running Linux, Windows, or macOS
- For Agent: A device to run the robot (Android phone, Raspberry Pi, etc.)
- Basic familiarity with installing software
Pro Tip
You don't need physical robot hardware to start! OctoMY™ can run in virtual mode for learning and testing. You can add hardware later.
Time required
The complete getting started series takes approximately 1-2 hours.
What you'll learn
By completing this tutorial series, you will:
- Install and run OctoMY™ on your devices
- Understand the difference between Agent, Remote, and Hub nodes
- Configure your first Agent (robot) node
- Configure your first Remote (controller) node
- Pair nodes securely using discovery
- Send your first control commands
- Understand basic trust and security concepts
After completing
Once you've finished the getting started tutorials, you'll be ready to:
- Build robots - Connect real hardware
- Configure controllers - Set up input devices
- Create Plans - Program autonomous behavior
- Advanced pairing - Explore QR code, NFC methods