First Connection
Pair Agent and Remote, send your first command
First connection
In this tutorial, you'll pair your Agent and Remote, establish trust, and send your first command.
What you'll learn
- Initiating the pairing process
- Understanding the handshake
- Establishing trust
- Sending your first control command
- Viewing sensor data
Prerequisites
- Agent running (from Your first Agent)
- Remote running with Agent discovered (from Your first Remote)
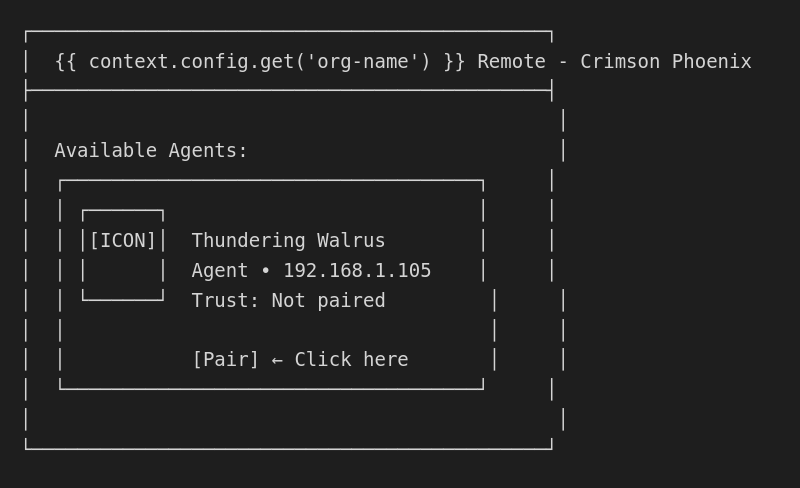
Step 1: Initiate pairing
On the Remote, tap the [Pair] button next to the Agent:
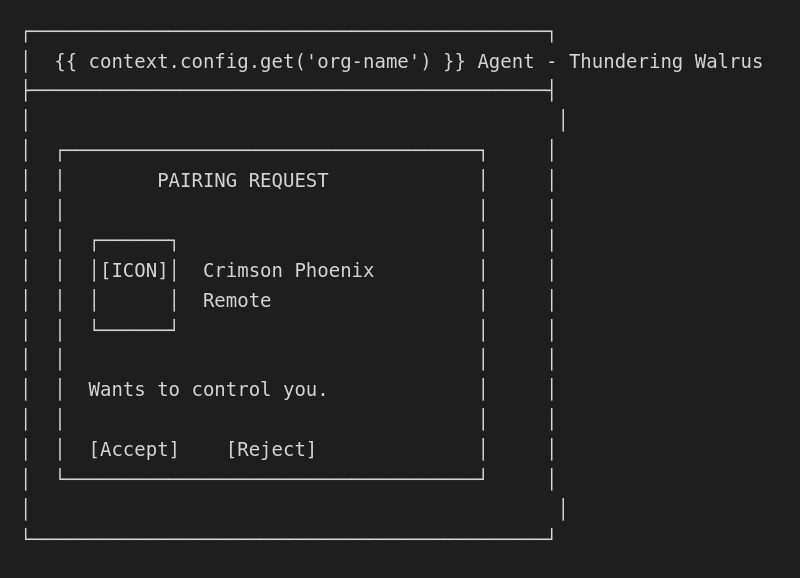
Step 2: The pairing request
When you tap Pair, the Remote sends a pairing request. The Agent shows:
Verify the identity
Before accepting:
- Check the identicon - Does it match what the Remote shows?
- Check the name - Is this the Remote you expect?
- Physical verification - Is the Remote in your hands?
Security Consideration
Always verify identicons before accepting pairing requests. A matching identicon proves the Remote has the private key corresponding to its advertised public key.
Step 3: Accept the pairing
On the Agent, tap [Accept].
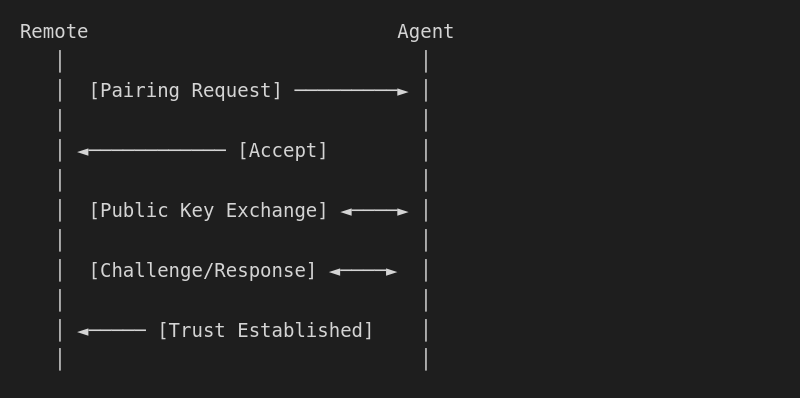
Both nodes now exchange cryptographic handshake data:
Did You Know?
The handshake uses a 3-way exchange similar to TCP, but with RSA encryption. Each side proves they hold the private key matching their claimed identity.
Step 4: Set trust level
After accepting, the Agent asks what trust level to assign:
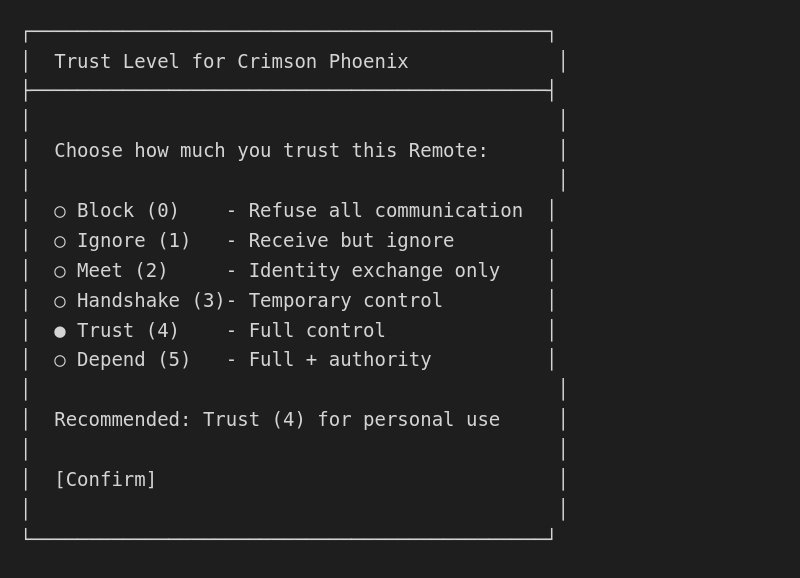
Select Trust for full control capability, then tap [Confirm].
Step 5: Connection established
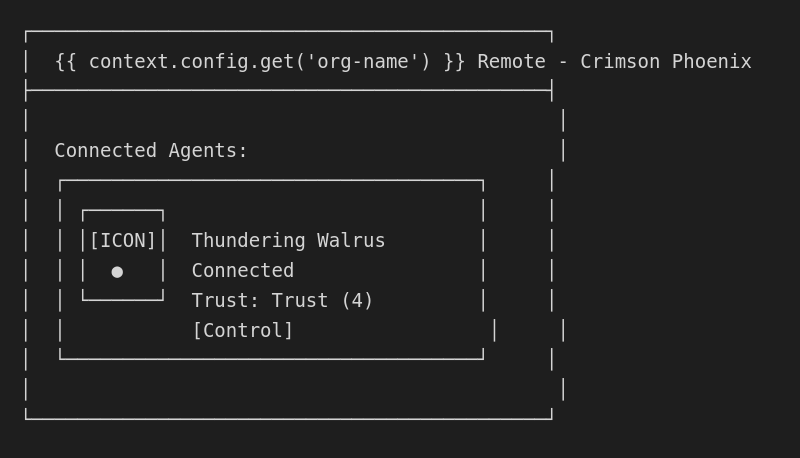
Both nodes now show they're connected:
On the Agent

On the Remote
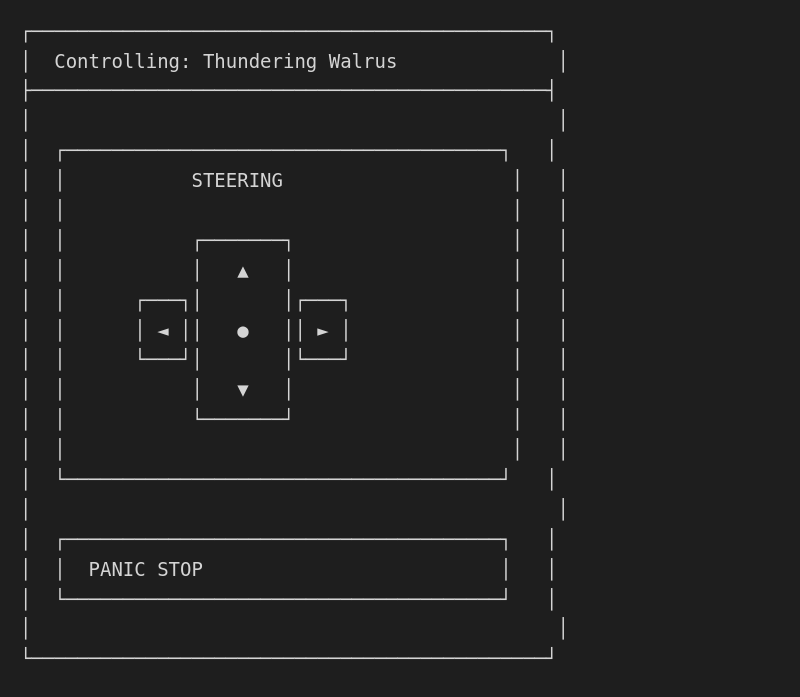
Step 6: Enter control mode
Tap [Control] on the Remote to enter the control interface:
The control interface adapts based on the Agent's hardware configuration.
Pro Tip
The control interface is fully customizable. If your robot has a specific control scheme, you can modify the layout in the Agent's hardware configuration.
Step 7: Send your first command
If hardware is configured
Try the steering controls:
- Tap ▲ to move forward
- Tap ◄ or ► to turn
- Tap PANIC STOP to stop immediately
The Agent will respond by moving the connected motors.
If no hardware
Even without hardware, you can still:
- See the Agent's face react
- View sensor data (if available)
- Verify the connection works
Step 8: View sensor data
If the Agent has sensors, view their data:
- Tap on the Agent in the control view
- Select Sensors
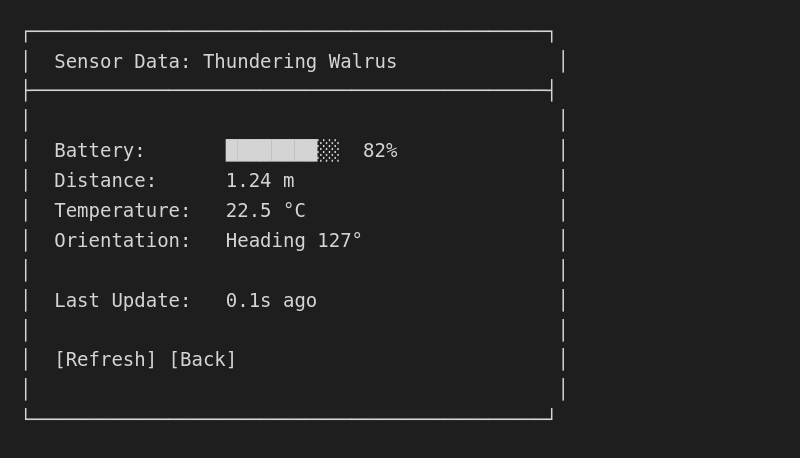
Sensor data streams in real-time as long as the connection is active.
Step 9: Disconnect
When you're done:
- Tap [Back] to return to the Agent list
- The connection stays established
To fully disconnect, tap the connected Agent and select Disconnect.
Note: Disconnecting doesn't remove the trust relationship. Next time, you can reconnect without re-pairing.
What you've accomplished
Congratulations! You've:
- Paired your first Agent and Remote
- Established a trust relationship
- Entered control mode
- Sent commands to your Agent
- Viewed sensor data
Understanding your connection
Trust persistence
The trust you established is saved:
- On the Agent in
~/.local/share/OctoMY™/OctoMY Agent/<personality>/addressbook.json - On the Remote in
~/.local/share/OctoMY™/OctoMY Remote/<personality>/addressbook.json
Reconnecting
Next time both nodes are running:
- They will discover each other automatically
- The trust relationship is remembered
- You can control immediately without re-pairing
Changing trust
To change trust level later:
- Go to ☰ Menu → Pairing
- Select the peer
- Adjust the trust slider
Troubleshooting
"Connection failed"
Network issues:
# Check connectivity
ping 192.168.1.105

# Check ports
nc -zv 192.168.1.105 8124
Firewall blocking:
# Open UDP port
sudo ufw allow 8124/udp
"Pairing rejected"
The Agent rejected your pairing request. This could mean:
- Wrong Agent - check the identicon
- Auto-reject enabled - ask the Agent operator to allow pairing
"Control not responding"
If commands don't seem to work:
- Check the trust level is at Trust
- Verify hardware is configured on the Agent
- Check the connection status indicator
"Sensor data not updating"
If sensors show stale data:
- Check sensors are configured on the Agent
- Verify the connection is active
- Try the [Refresh] button
Next steps
Now that you have a working OctoMY™ setup, explore:
- Building robots - Build a complete robot
- Plans - Create autonomous behaviors
- Hardware setup - Advanced hardware configuration