Your First Remote
Set up a Remote controller
Your first Remote
In this tutorial, you'll set up a Remote - the controller for your Agent.
What you'll learn
- Starting a Remote for the first time
- Understanding the Remote interface
- Discovering Agents on your network
- Preparing for pairing
Prerequisites
- OctoMY™ installed (see Installation)
- A device to run the Remote (phone, tablet, or computer)
- An Agent running (see Your first Agent)
Step 1: Start the Remote
Open a terminal and run:
./remote --personality MyController
Like Agent, the --personality flag creates a separate identity, allowing multiple Remotes on the same device.
Pro Tip
Run both Remote and Agent on the same computer during learning - just use different terminal windows. Once you're comfortable, move to separate devices.
Step 2: The birth process
First-time startup triggers the Remote birth process:

The Remote gets its own unique identity, separate from any Agents.
Did You Know?
Even though Agent and Remote are different node types, the birth process is similar. Both generate RSA key pairs and derive their personality from the public key.
Step 3: Explore the interface
After birth, you'll see the main Remote window:
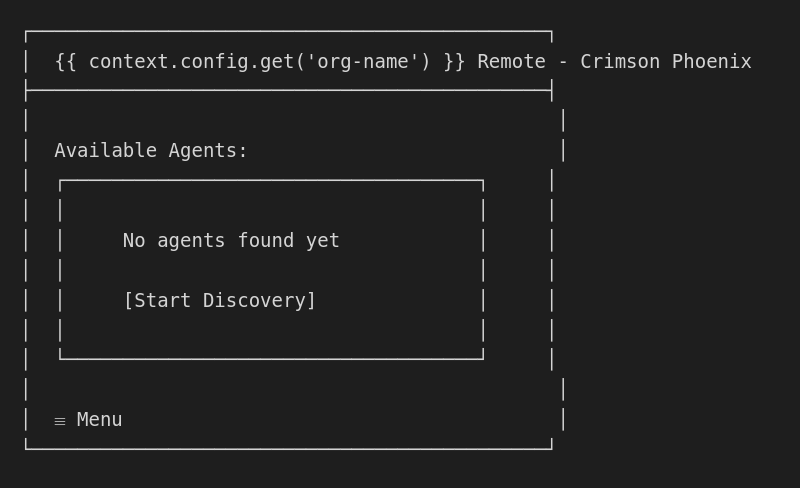
The main area shows available Agents. Since we haven't discovered any yet, it's empty.
Menu options
Tap the menu icon (☰) to access:
| Menu Item | Purpose |
|---|---|
| Settings | Configuration options |
| Pairing | Manual pairing (QR/NFC) |
| Connection | Connection settings |
| Utilities | Debug and testing tools |
Step 4: Start discovery
Automatic discovery
Click Start Discovery or:
- Go to ☰ Menu → Settings
- Enable Auto Discovery
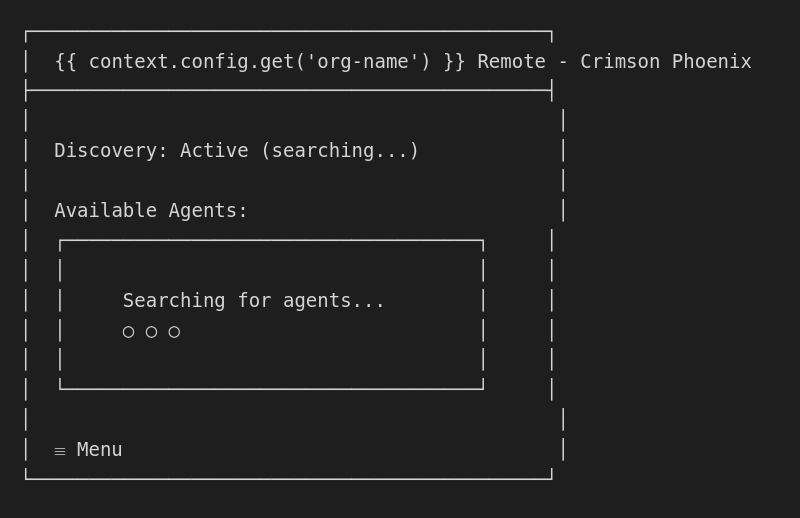
The Remote will search for Agents on the local network:
Finding your Agent
When your Agent is discovered, it appears in the list:

Each Agent entry shows:
| Field | Meaning |
|---|---|
| Icon | Agent's identicon |
| Name | Generated name |
| Address | Network address |
| Signal | Connection strength |
| Trust | Current trust level |
Step 5: Understanding trust levels
Before pairing, understand the trust levels:
| Level | Name | Description |
|---|---|---|
| Block | — | Refuse all communication |
| Ignore | — | Tracked but no interaction |
| Trust | — | Full operational relationship |
When you first discover an Agent, it starts at Ignore level. You can see each other but not control.
Security Consideration
OctoMY™ never grants trust automatically. You must explicitly set trust level after verifying the node's identity using its identicon.
Step 6: Prepare for pairing
Before pairing in the next tutorial, verify:
On the Remote
- Discovery active - You can see the Agent
- Network connected - Same network as Agent
- Ready to pair - "Pair" button visible
On the Agent
- Discovery active - Broadcasting presence
- Waiting for connections - Ready status
Visual confirmation
Verify the identicons match what you expect:

The identicon is derived from the Agent's cryptographic key. If it doesn't match, you might be talking to a different Agent.
Pro Tip
Take a screenshot of your Agent's identicon when you first set it up. This makes visual verification much easier when pairing from a different device.
Troubleshooting
No Agents found
Check that Agent is running:
# On the Agent device
ps aux | grep agent
Check network connectivity:
# Can you ping the Agent?
ping 192.168.1.105
Check firewall:
# Allow UDP on port 8124
sudo ufw allow 8124/udp
Discovery takes too long
Discovery uses UDP broadcast which can be slow on some networks. Try:
- Manual pairing - Use QR code instead
- Direct connection - Enter Agent's IP directly
- Check network - Some networks block broadcast
Wrong Agents appearing
If you see unfamiliar Agents:
- Check they're on your network (they should be)
- Ignore them - don't pair with unknown Agents
- The identicon helps identify the correct one
What you've accomplished
You now have:
- A running Remote with its own identity
- Discovery enabled to find Agents
- An Agent visible in your list
- Understanding of trust levels
Next steps
First connection - Pair your Remote and Agent, then send your first command