Pair via LAN Discovery
Find nodes on local network
Pair via LAN Discovery
Use automatic LAN discovery to find and pair with OctoMY™ nodes on your local network.
When to use LAN discovery
- Devices on the same WiFi or wired network
- Quick setup without QR codes
- Home or lab environments
- Networks that allow UDP broadcast
Security Consideration
LAN discovery is less secure than QR code or NFC pairing because it doesn't guarantee physical proximity. Only use on trusted networks. Always verify the identicon before accepting pairing requests from unknown devices.
Prerequisites
- Both devices on the same local network
- UDP broadcast enabled on the network
- Port 8124 not blocked by firewall
Step 1: Enable discovery on agent
On the Agent:
- Open ☰ Menu → Settings
- Enable Auto Discovery
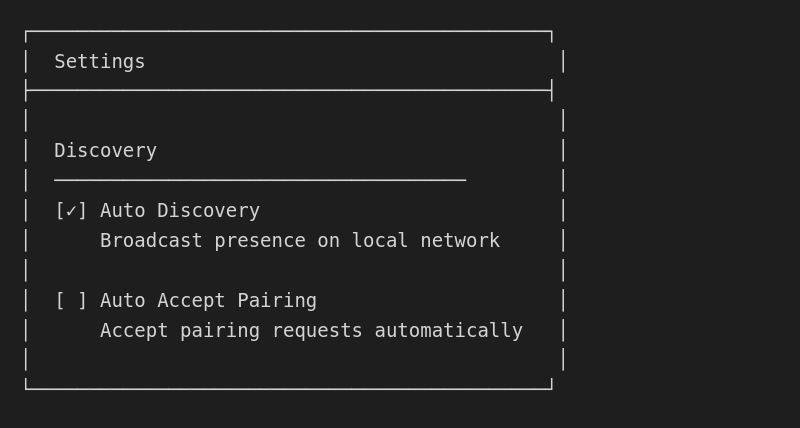
The Agent now broadcasts its presence via UDP.
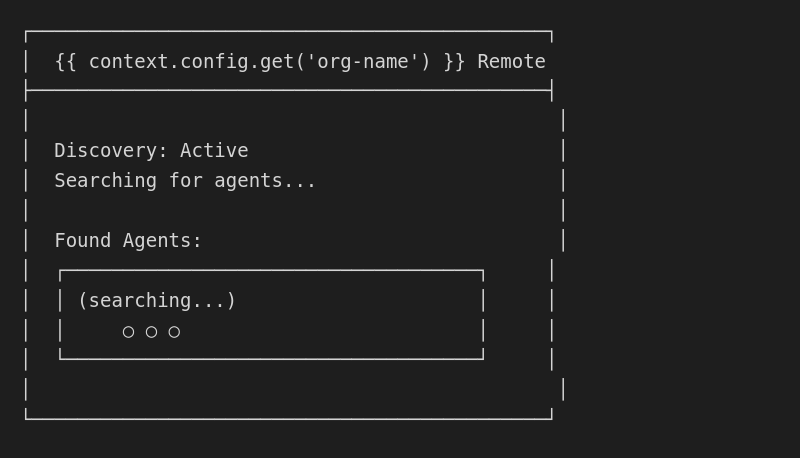
Step 2: Start discovery on remote
On the Remote:
- Open ☰ Menu → Settings
- Enable Auto Discovery, or
- Tap Start Discovery on the main screen
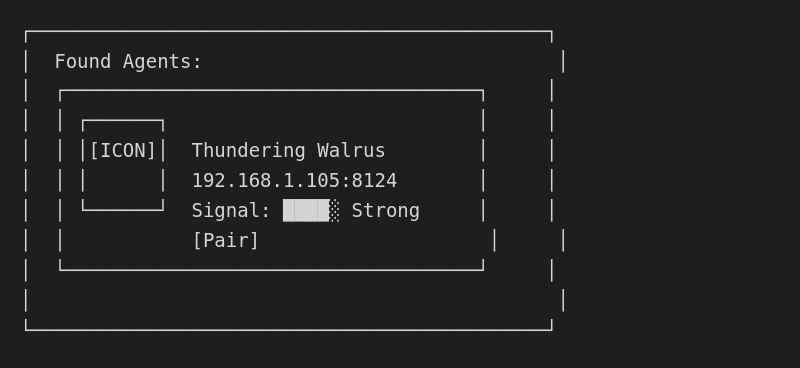
Step 3: Find your agent
When discovery finds the Agent, it appears in the list:
Multiple agents
If multiple Agents are on the network, they all appear:
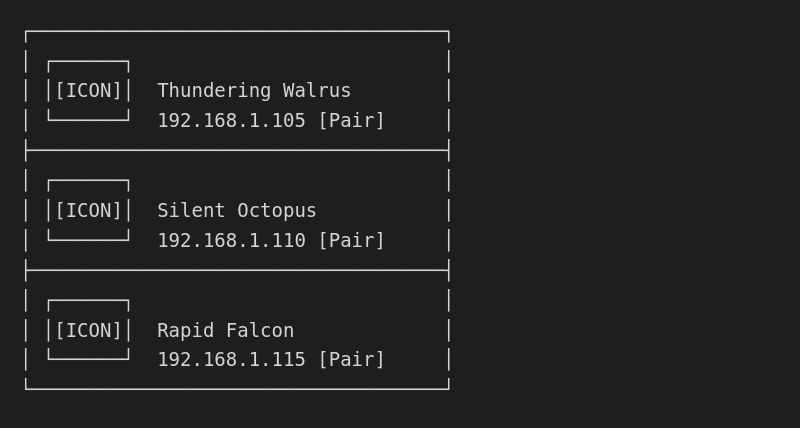
Use the identicon to identify the correct Agent.
Pro Tip
The identicon is a visual representation of the Agent's cryptographic identity. It's mathematically derived from the public key, so the same Agent will always show the same identicon. Use this to quickly identify your robot.
Step 4: Initiate pairing
Tap [Pair] next to the Agent you want to connect with.
The Remote sends a pairing request, and the Agent shows:
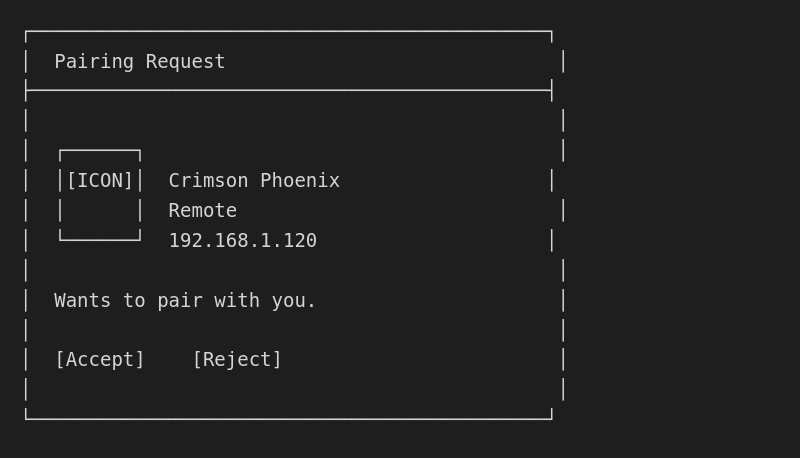
Step 5: Accept and set trust
On the Agent:
- Verify the Remote's identity (check identicon)
- Tap [Accept]
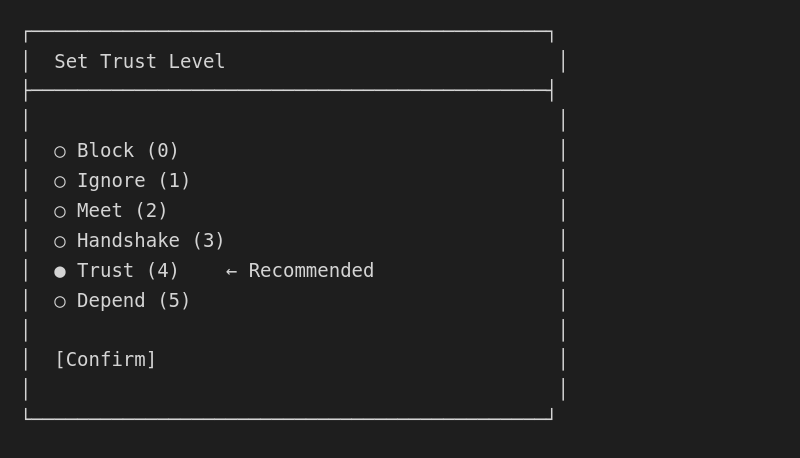
- Choose a trust level
Step 6: Connection complete
Both devices now show connected:
| Device | Status |
|---|---|
| Agent | "Connected to Crimson Phoenix" |
| Remote | "Connected to Thundering Walrus" |
How LAN discovery works
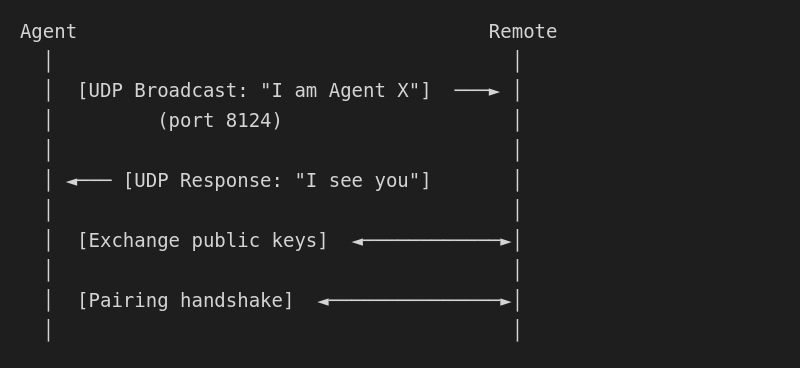
Discovery uses:
- UDP broadcast on port 8124
- Periodic announcements (every 5 seconds)
- Response to discovery probes
The DiscoveryClient manages the discovery protocol and maintains the list of discovered nodes.
Did You Know?
LAN discovery uses UDP broadcast packets that are only visible on your local network segment. These packets never leave your router, making this a privacy-friendly discovery method for local environments.
Discovery settings
| Setting | Description |
|---|---|
| Auto Discovery | Broadcast/listen automatically |
| Discovery Interval | How often to broadcast (default: 5s) |
| Discovery Timeout | How long to wait for responses |
Network requirements
Ports required
| Port | Protocol | Purpose |
|---|---|---|
| 8124 | UDP | Agent communication |
| 8125 | UDP | Remote communication |
Firewall configuration
Pro Tip
On Linux systems, firewall rules often block UDP by default. If discovery isn't working, check your firewall configuration first - it's the most common issue.
Linux (ufw):
sudo ufw allow 8124/udp
sudo ufw allow 8125/udp
Linux (firewalld):
sudo firewall-cmd --add-port=8124/udp --permanent
sudo firewall-cmd --add-port=8125/udp --permanent
sudo firewall-cmd --reload
Troubleshooting
Agent not appearing
- Check same network: Both devices on same WiFi/LAN?
- Check discovery enabled: Agent → Settings → Auto Discovery
- Check firewall: UDP ports 8124/8125 open?
- Check broadcast: Some networks block UDP broadcast
Discovery takes too long
- Discovery can take 10-30 seconds on some networks
- Try manually triggering discovery refresh
- Consider QR pairing for faster setup
Multiple networks
If devices have multiple network interfaces:
- Discovery uses all available interfaces
- May show multiple addresses for same Agent
- Choose the most stable connection