Building Robots
Hardware tutorials for physical robots
Building robots
These tutorials guide you through building physical robots with OctoMY™.
Pro Tip
Start with a simple wheeled robot to learn the basics. You can always add more complex hardware like arms and sensors later. The basic wheeled robot tutorial is designed for absolute beginners.
Tutorials
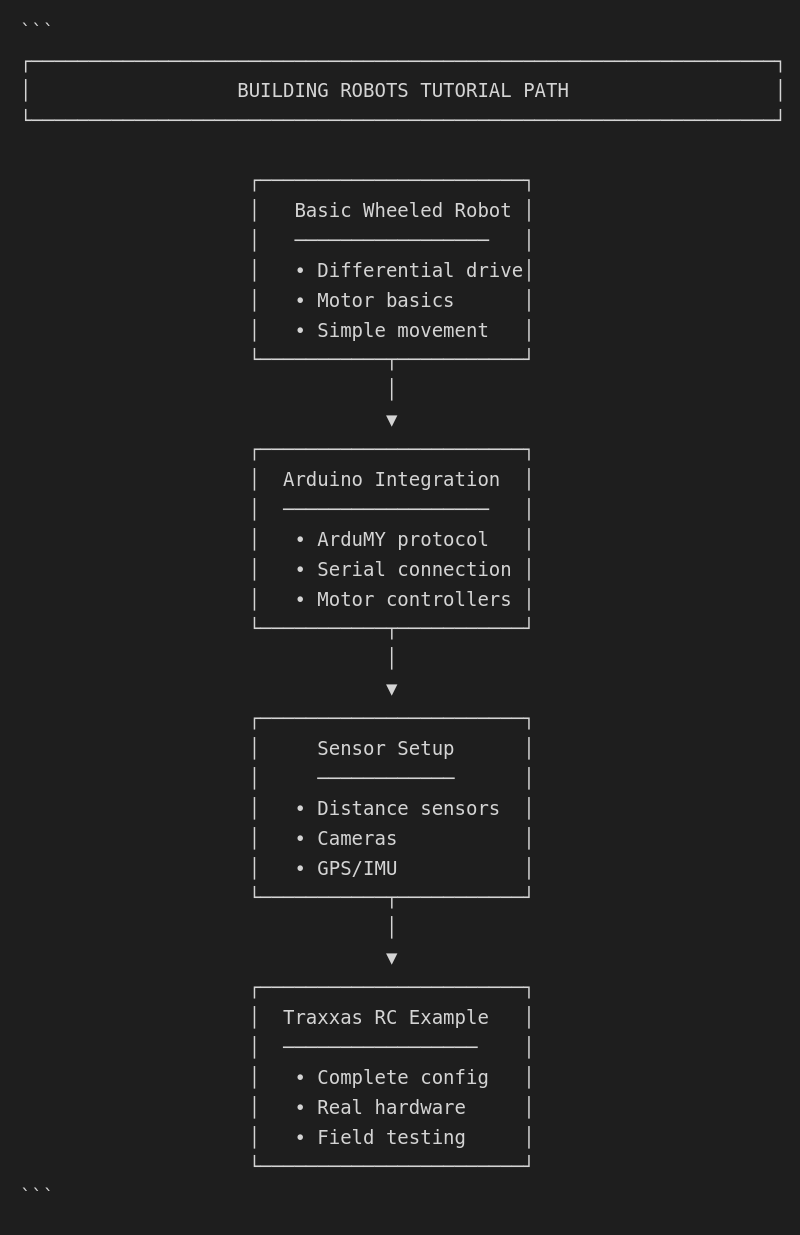
| Tutorial | Description |
|---|---|
| Basic wheeled robot | Build a simple two-wheel differential drive robot |
| Arduino integration | Connect Arduino-based motor controllers |
| Sensor setup | Add distance sensors, cameras, and other inputs |
| Traxxas RC car example | Complete configuration example for an RC car robot |
Did You Know?
OctoMY™ supports multiple hardware architectures. Whether you're using Arduino, Raspberry Pi GPIO, or commercial servo controllers like Servotor32, the configuration process follows the same pattern.
Prerequisites
- Completed getting started tutorials
- Basic electronics knowledge
- Access to robot hardware (motors, controllers, chassis)
What you'll learn
By completing these tutorials, you will:
- Connect motors and motor controllers to your Agent
- Configure actuators in OctoMY™'s hardware settings
- Set up sensors for feedback and autonomy
- Test and calibrate your hardware
- Understand the ArduMY protocol for Arduino communication
Hardware requirements
| Component | Purpose | Example |
|---|---|---|
| Chassis | Robot body/frame | 3D printed, RC car, kit |
| Motors | Movement | DC motors, servos |
| Controller | Motor driver | L298N, Arduino + ArduMY |
| Power | Electricity | LiPo battery, USB power bank |
| Computer | Runs Agent | Raspberry Pi, Android phone |