Watching and tuning the swarm
The swarm is how your data lives encrypted across peers instead of on a central server. Once your node participates, two screens let you see what it is doing and control how much it contributes: Swarm Status (read-only) and Swarm Config (settings). This guide covers both.
Open Swarm Status
When the swarm is enabled, a pill-shaped swarm chip appears in the header identity strip, next to the hive glyph. At a glance it shows:
- A honeycomb state icon — live green cells when connected, mixed cells when the connection is struggling, empty cells when offline.
- The number of reachable peers.
- A live throughput spark — received traffic solid, sent traffic translucent.
Click the chip to open Swarm Status. You can also open it from the main menu.
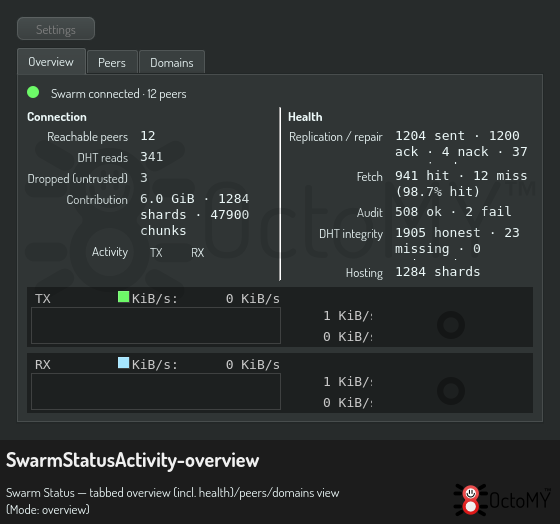
Read the status tabs
Swarm Status has three tabs.
- Overview — split into two columns. On the left, connection state (reachable peers, DHT reads, dropped packets), TX/RX activity lights, and your contribution: how many bytes, shards, and unique chunks you are hosting for other people. On the right, Health — the durability internals: replication (push / ack / nack / repaired), fetch hit ratio, audit results, and DHT integrity (honest / missing / poisoned — poisoned should stay at zero). Below both, live TX/RX throughput graphs (in KiB/s).
- Peers — one row per peer, with its short id, online state, reputation (0–1, higher is better), and trust (whether you have paired and marked that peer trusted — the precondition for it hosting your data).
- Domains — the parts of the app that use the swarm (for example, paint), each with its storage root. Domains are an internal organising unit, not a person.
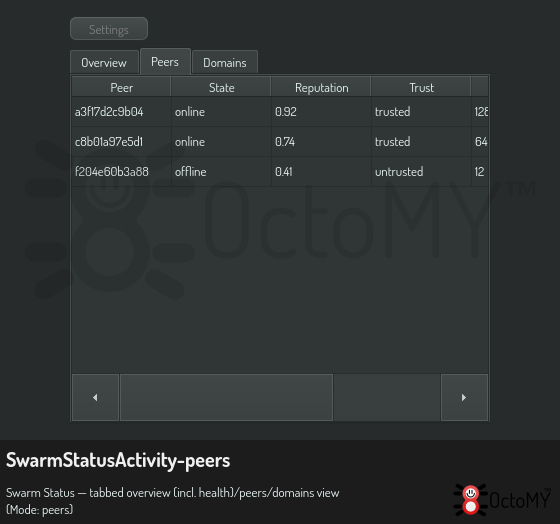
Everything updates live while the screen is open. The Settings button above the tabs opens the swarm settings.
Tune it on the settings page
The swarm settings are the Swarm category of the Hub's settings page. Open it in one of these ways:
- Push Swarm settings in the setup menu.
- Push Settings on the Swarm Status screen.
- Push Ctrl+,, and then select Swarm in the category list.
Each setting is kept for each node. Two devices on the same network keep their own values.
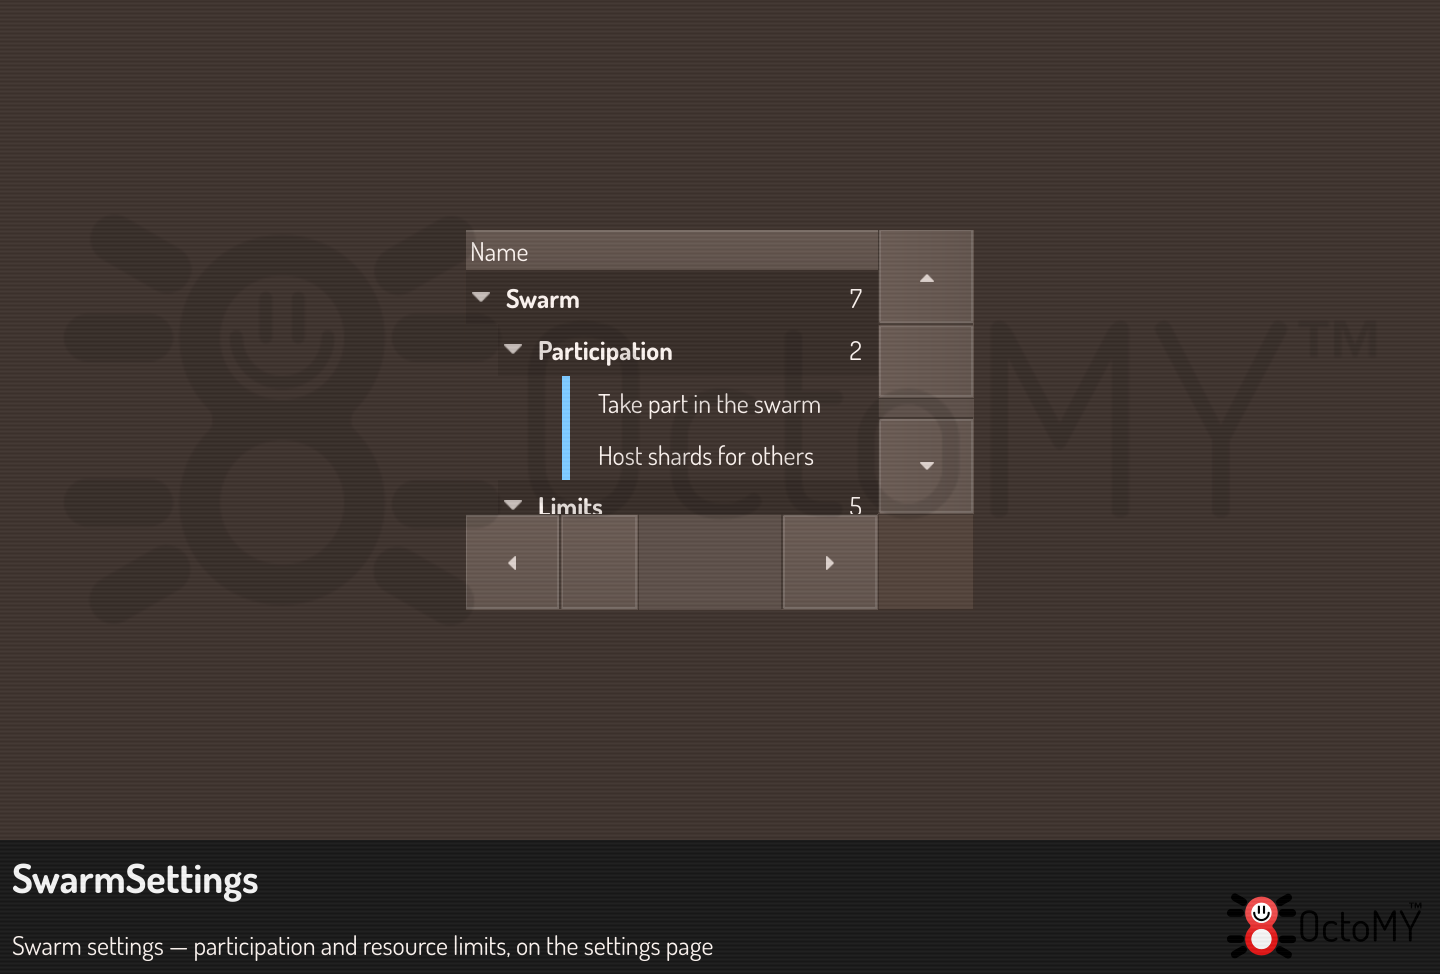
- Take part in the swarm — the main switch. A change applies immediately: the swarm attaches or detaches with no restart. While the node takes part, the header shows the swarm chip. When you set it off, the chip goes from the header until you set it on again.
- Host shards for others — keep pieces of the data of other nodes on this node. Set it off to use the swarm without hosting.
- Contribution budget — the most disk space, in GiB, that you give to other nodes. 0 is no limit.
- Default replication factor — how many copies of each piece of new data the swarm keeps.
- Bandwidth limit in and Bandwidth limit out — the most swarm traffic, in MiB/s. 0 is no limit.
- Streams for each peer — how many transfers one peer can open at the same time. 0 is no limit.
While the node does not take part in the swarm, the other rows dim. You can still change them.
Reset all, at the bottom of the window, sets every swarm setting back to its default. It asks first. Undo undoes the reset.
Note: Each change is saved immediately and applies immediately. No restart is necessary.
The header chip
While your node participates in the swarm, a compact pill-shaped chip sits in its header: the honeycomb state icon on the left, the reachable peer count, and a live two-tone throughput spark trailing off the right edge. The chip's outline changes colour with the connection state — green when healthy, amber when the swarm is struggling (peers reachable but traffic failing), grey when no peers are reachable. Clicking it opens Swarm Status.
When you switch participation off, the chip leaves the header entirely — an empty honeycomb is how the rest of the app pictures that state. The swarm screens stay one click away in the main menu.
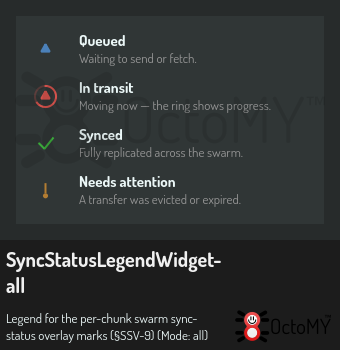
Per-chunk sync marks on a shared canvas
While a shared paint canvas is catching up, each affected tile carries a small symbol (see Sharing your canvas for the full walkthrough):
See Also
- Swarm Config — the settings screen described above, reached from the main menu.