A DIY mobile fusebox for testing Part #1
I suddenly found myself in possession of 7 electric motors, a large 12VDC powersupply and a controller card capable of driving about any robot project I could ever dream up. But there was something missing! How was I supposed to proceed to test my new gear without making a mess of wires?
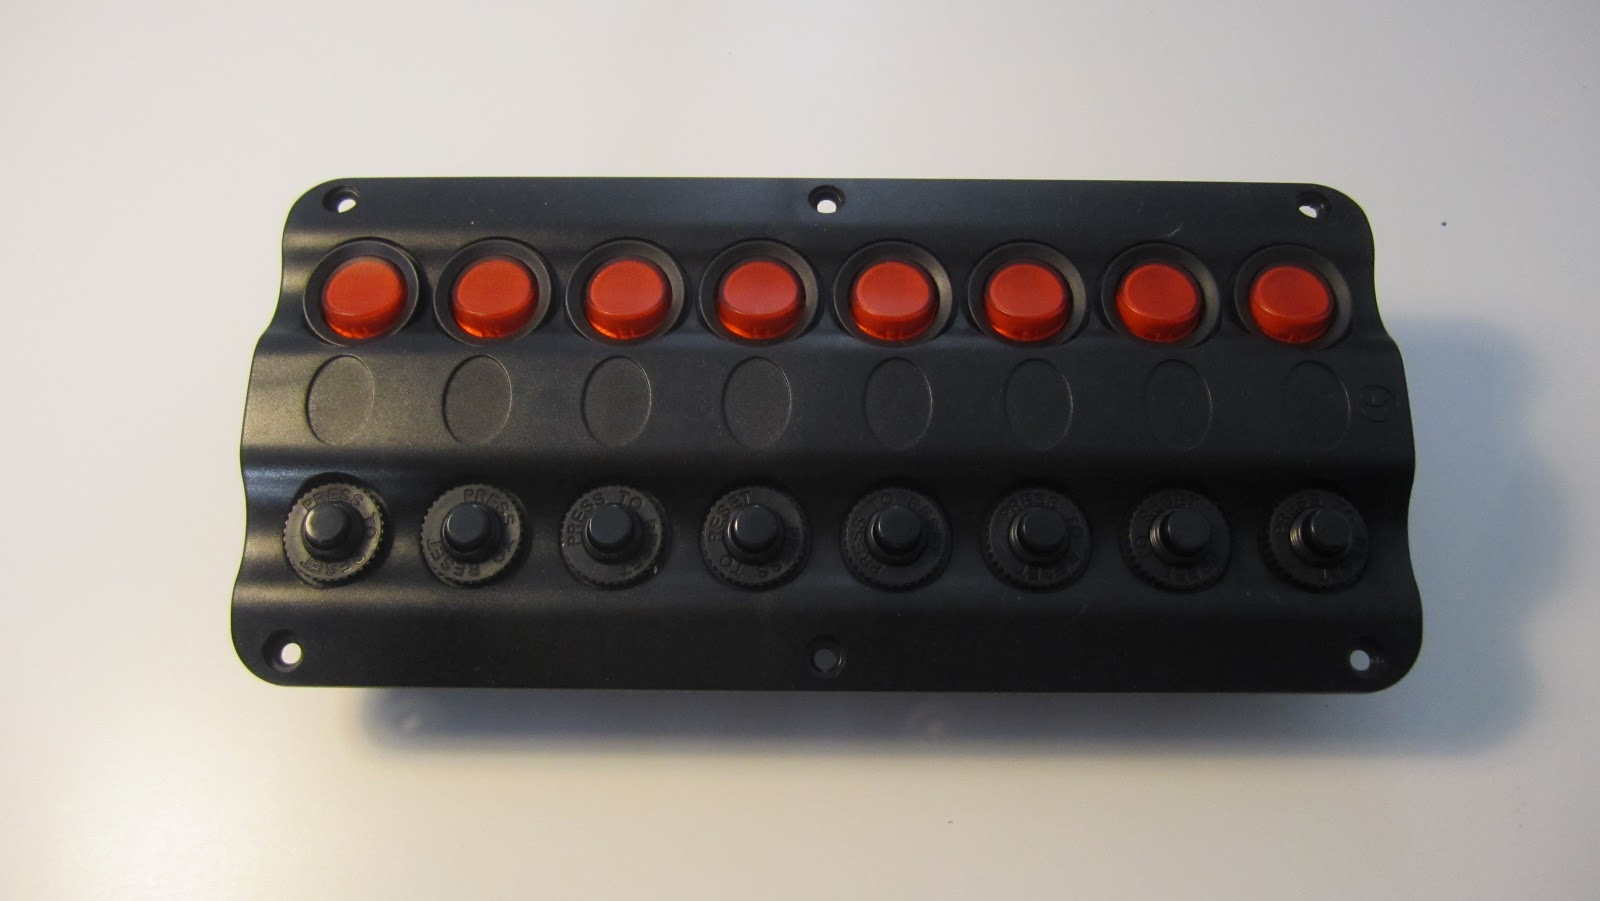
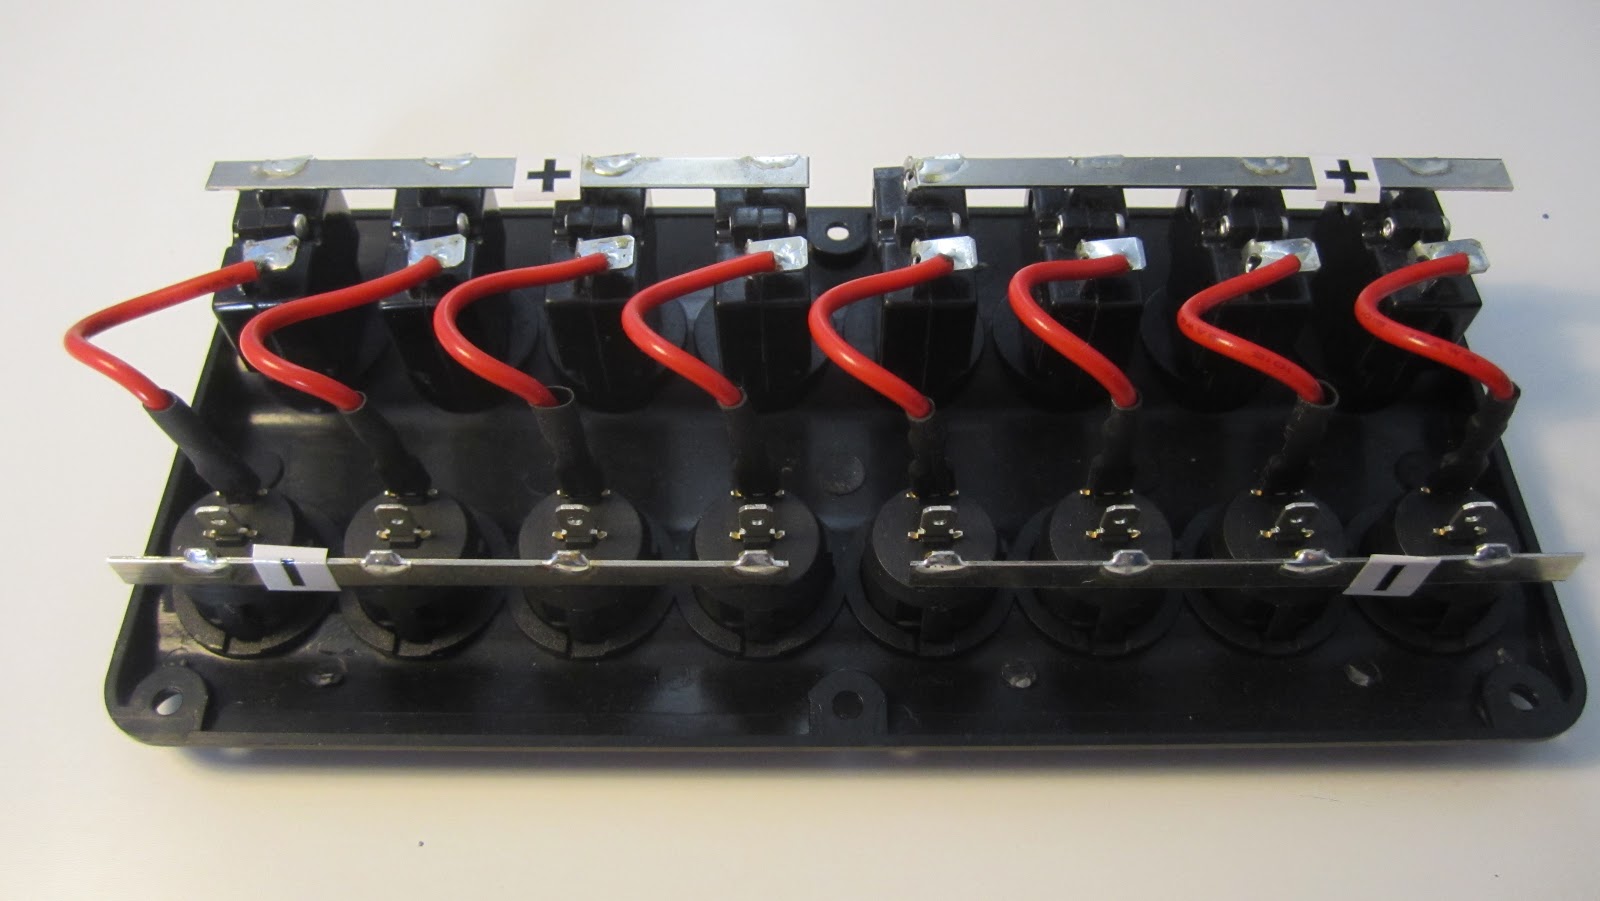
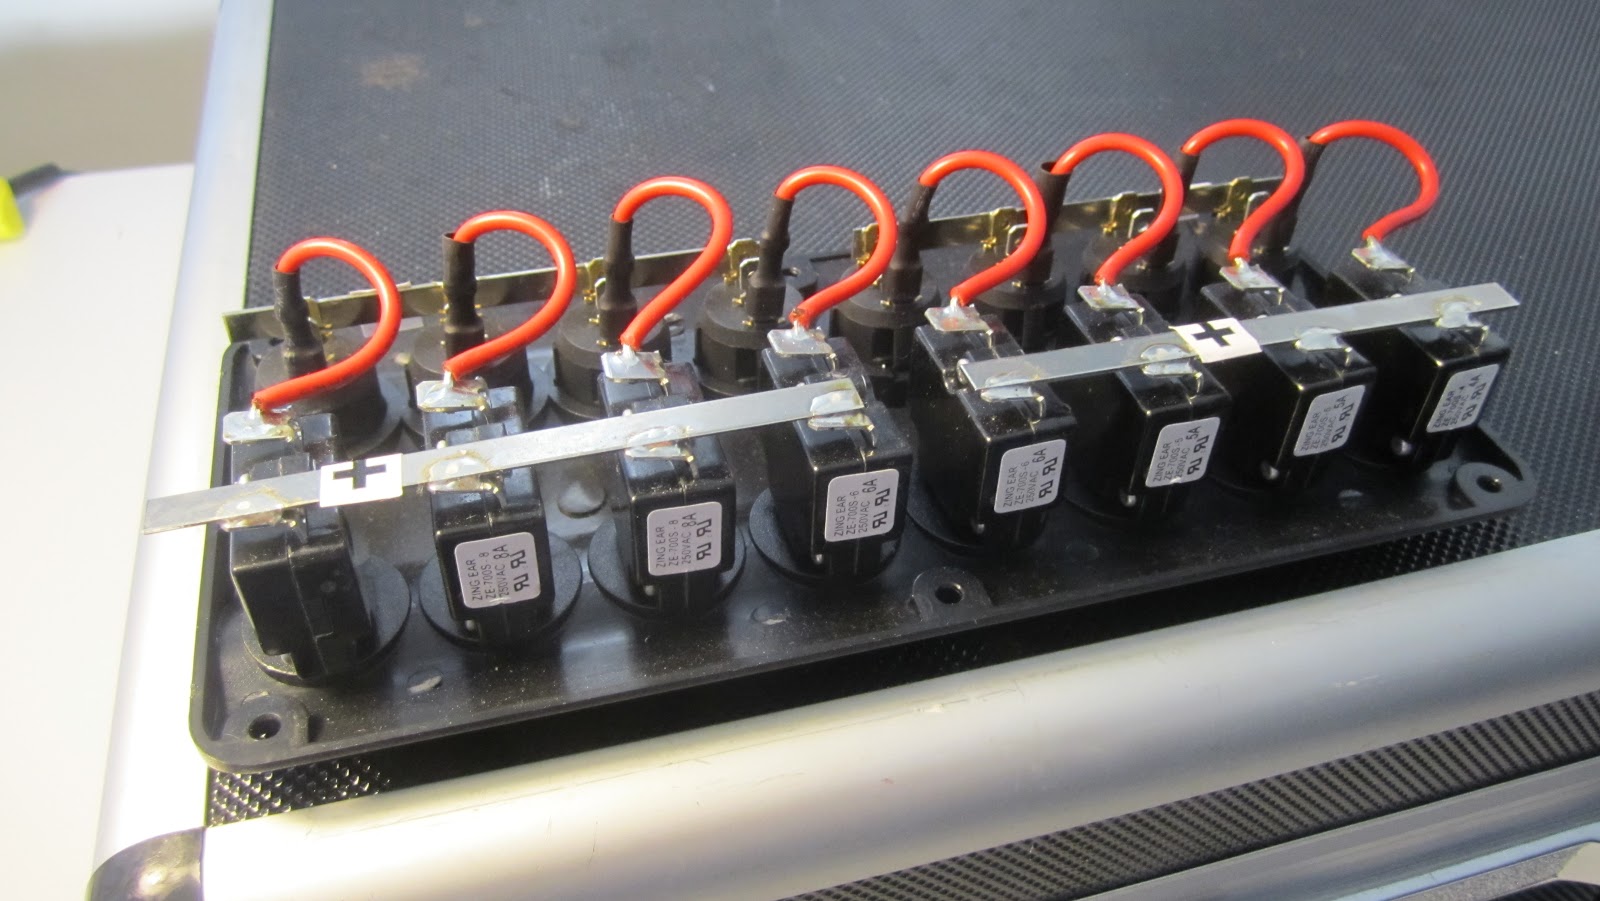
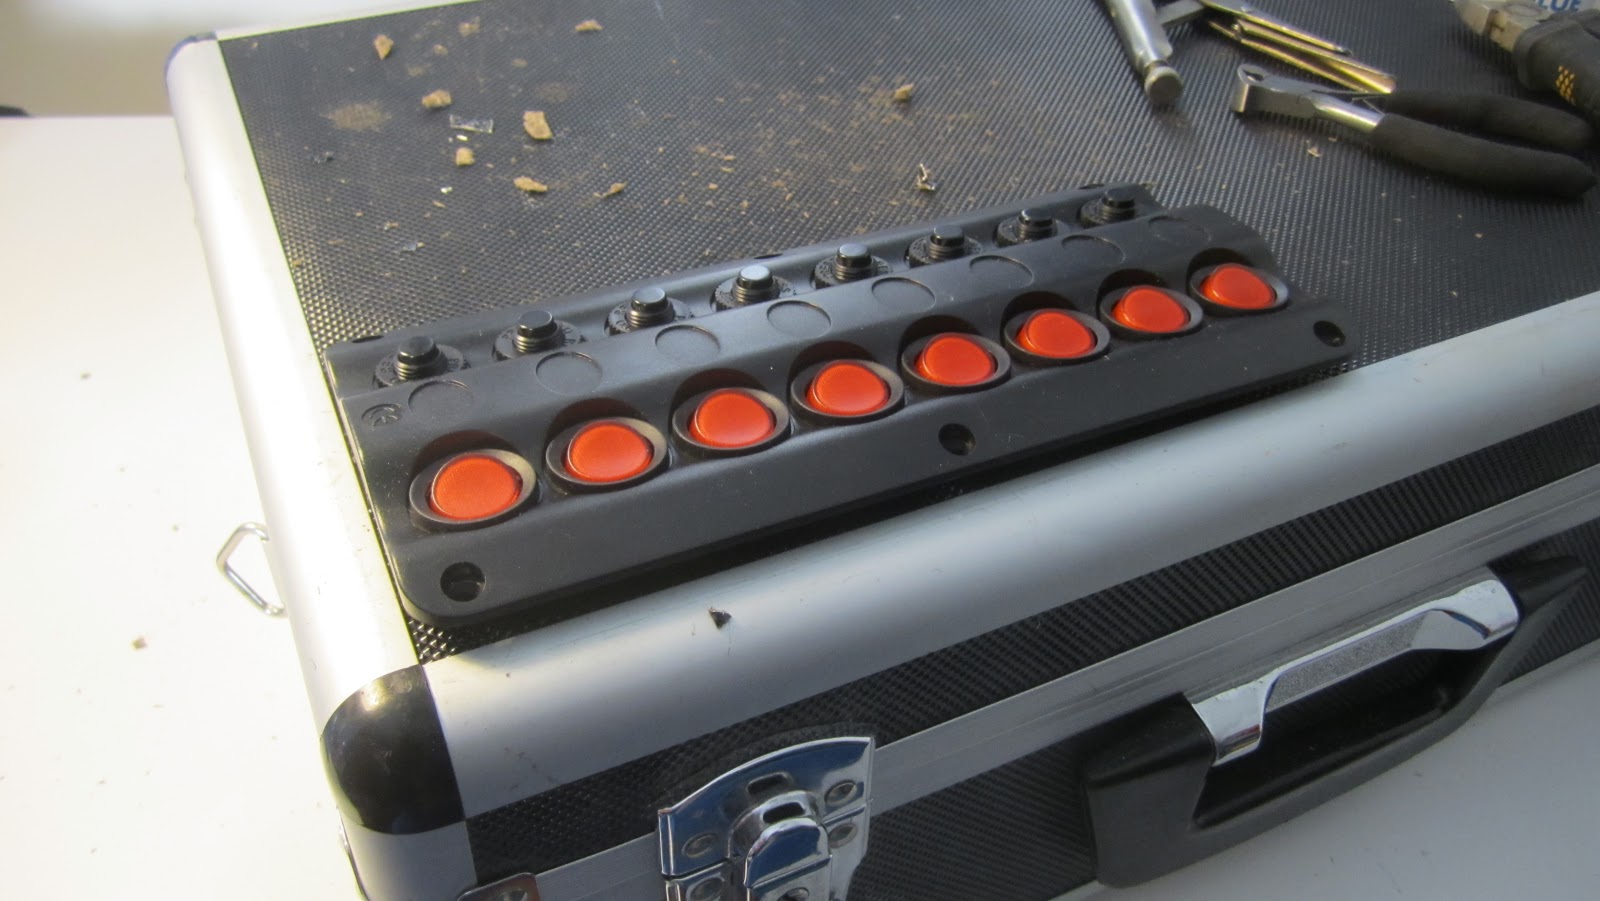
I decided to make a fusebox out of an old suitcase that I have lying around, and a fused switchboard that I bought from my local Biltema.
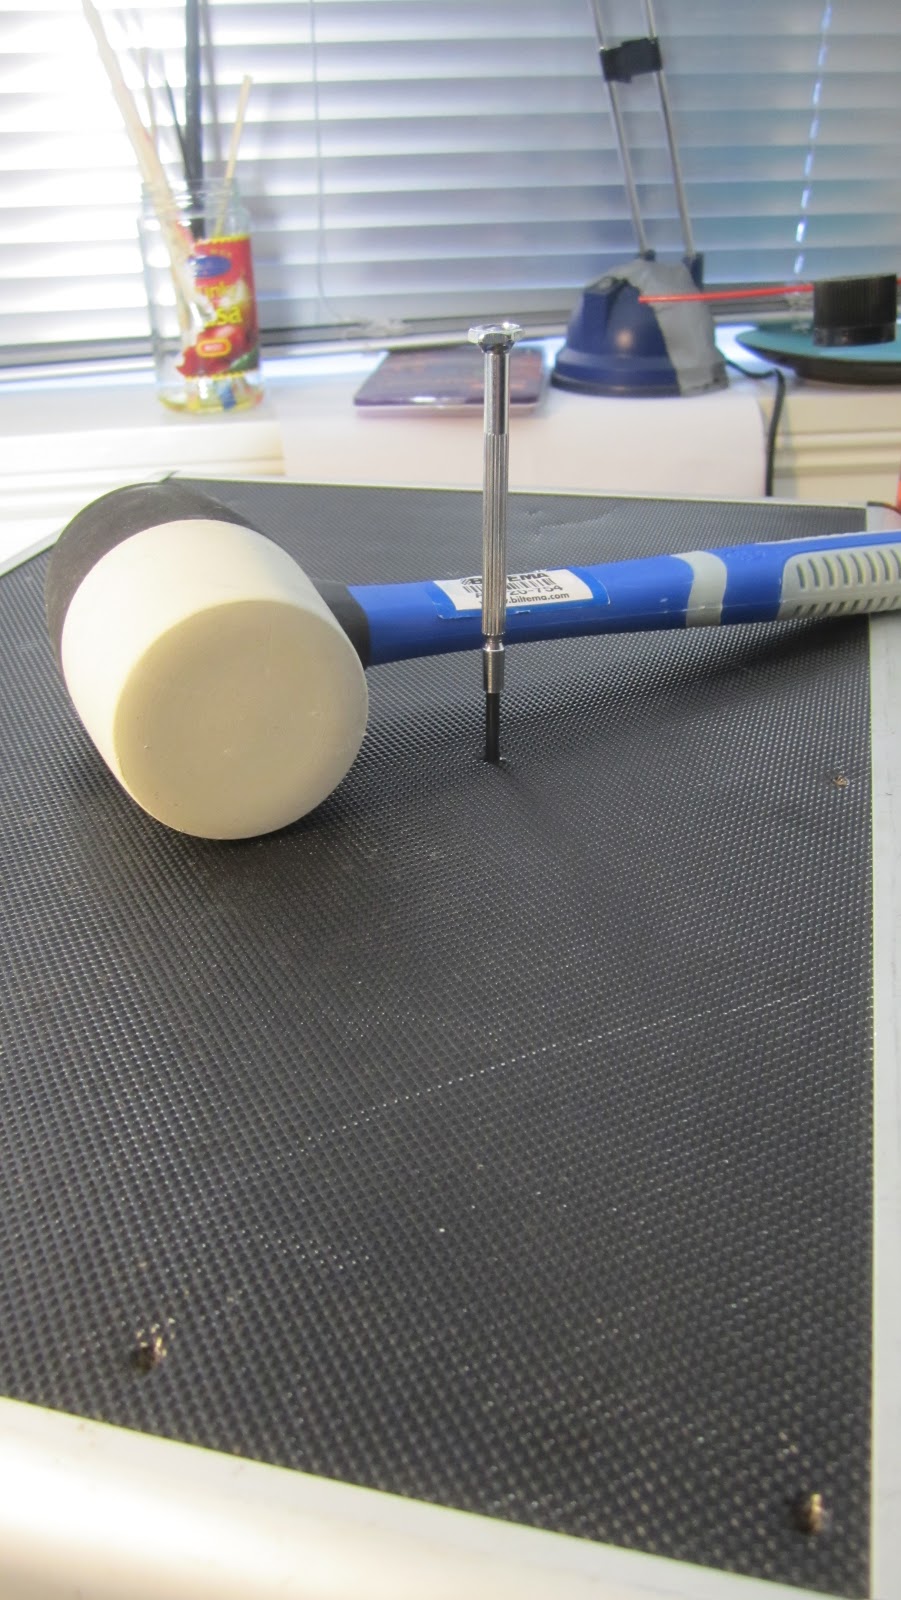
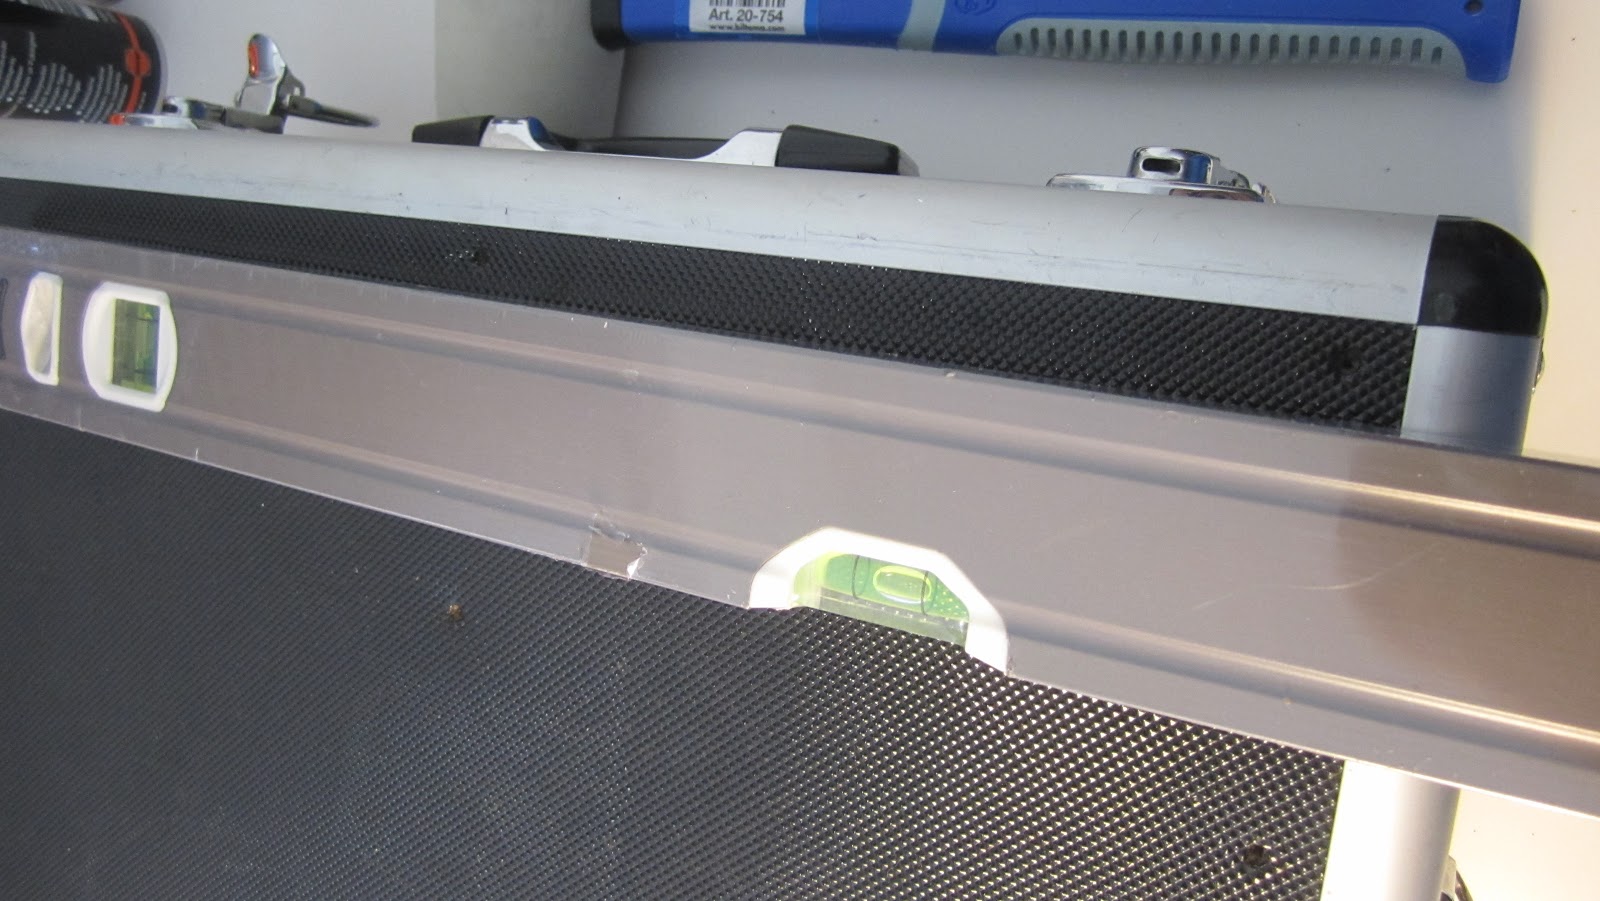
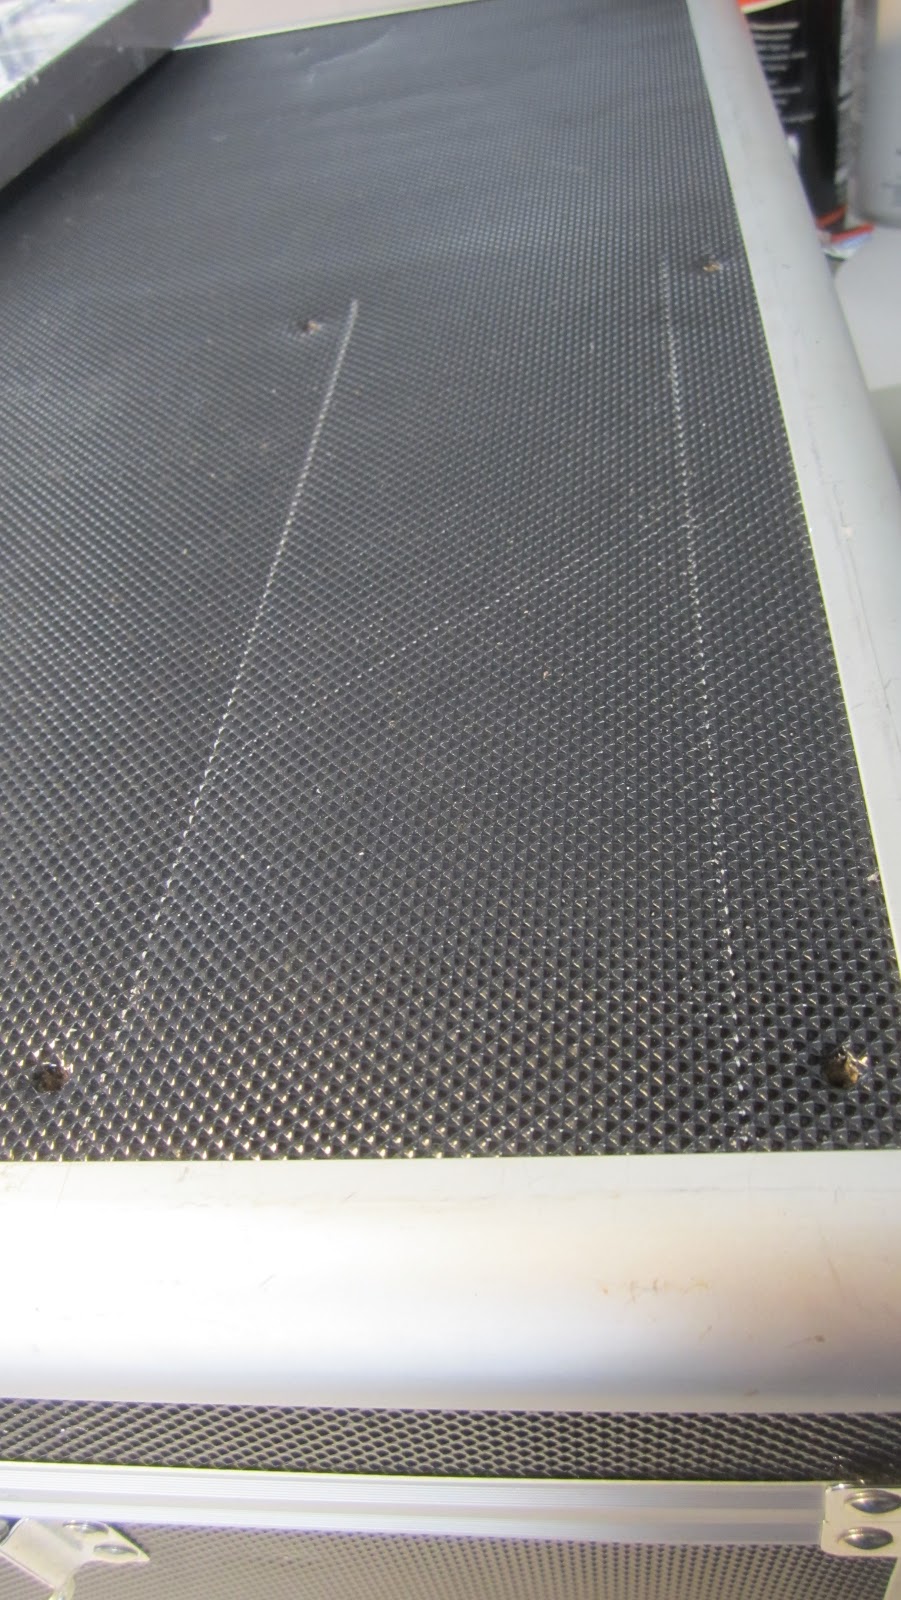
I started by eyeballing out some measurements on the outside of the case, and then punching some holes with a screwdriver where I felt the holes in the switchboard aligned about right. I then decided where I needed to cut into the case to make room for the stuff hanging out of the backside of the switchboard, and drew some lines with a ruler.
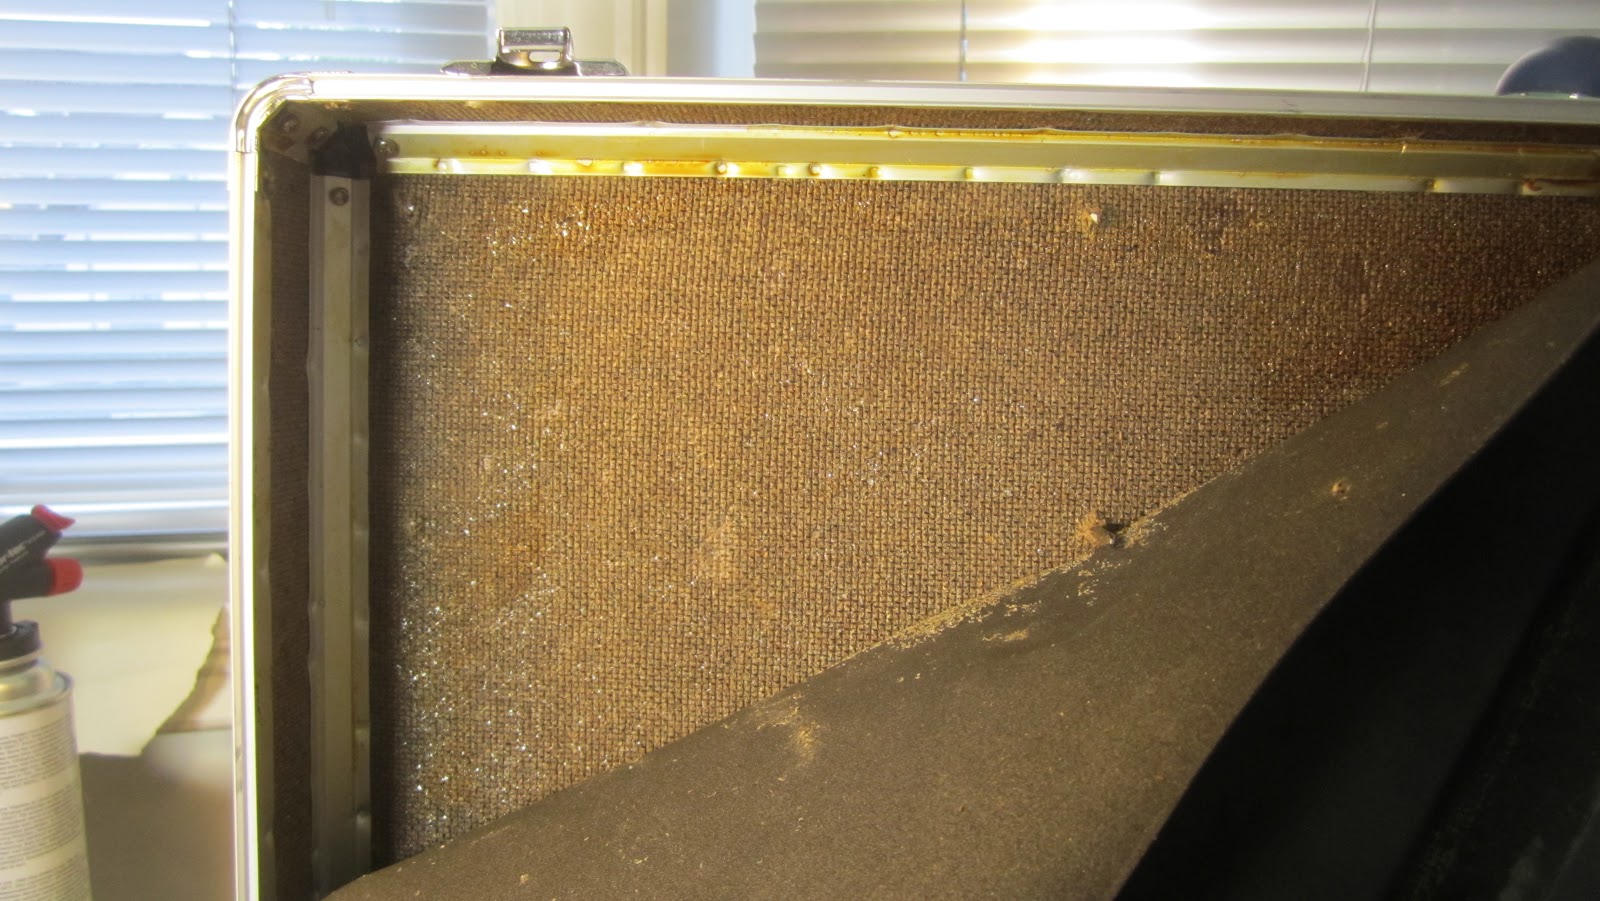
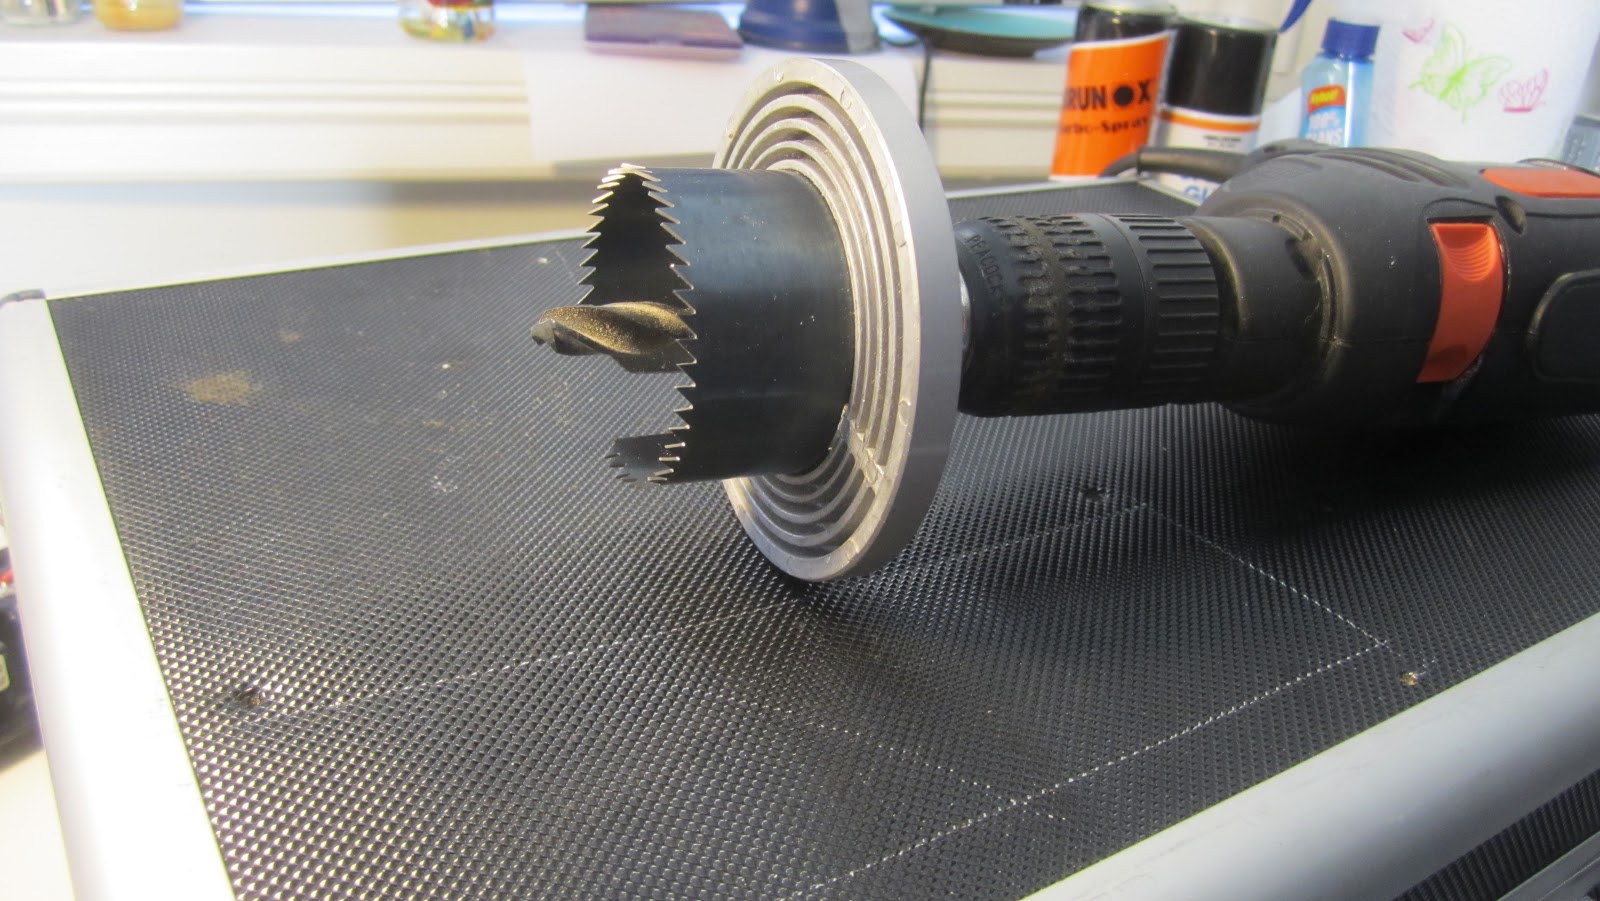
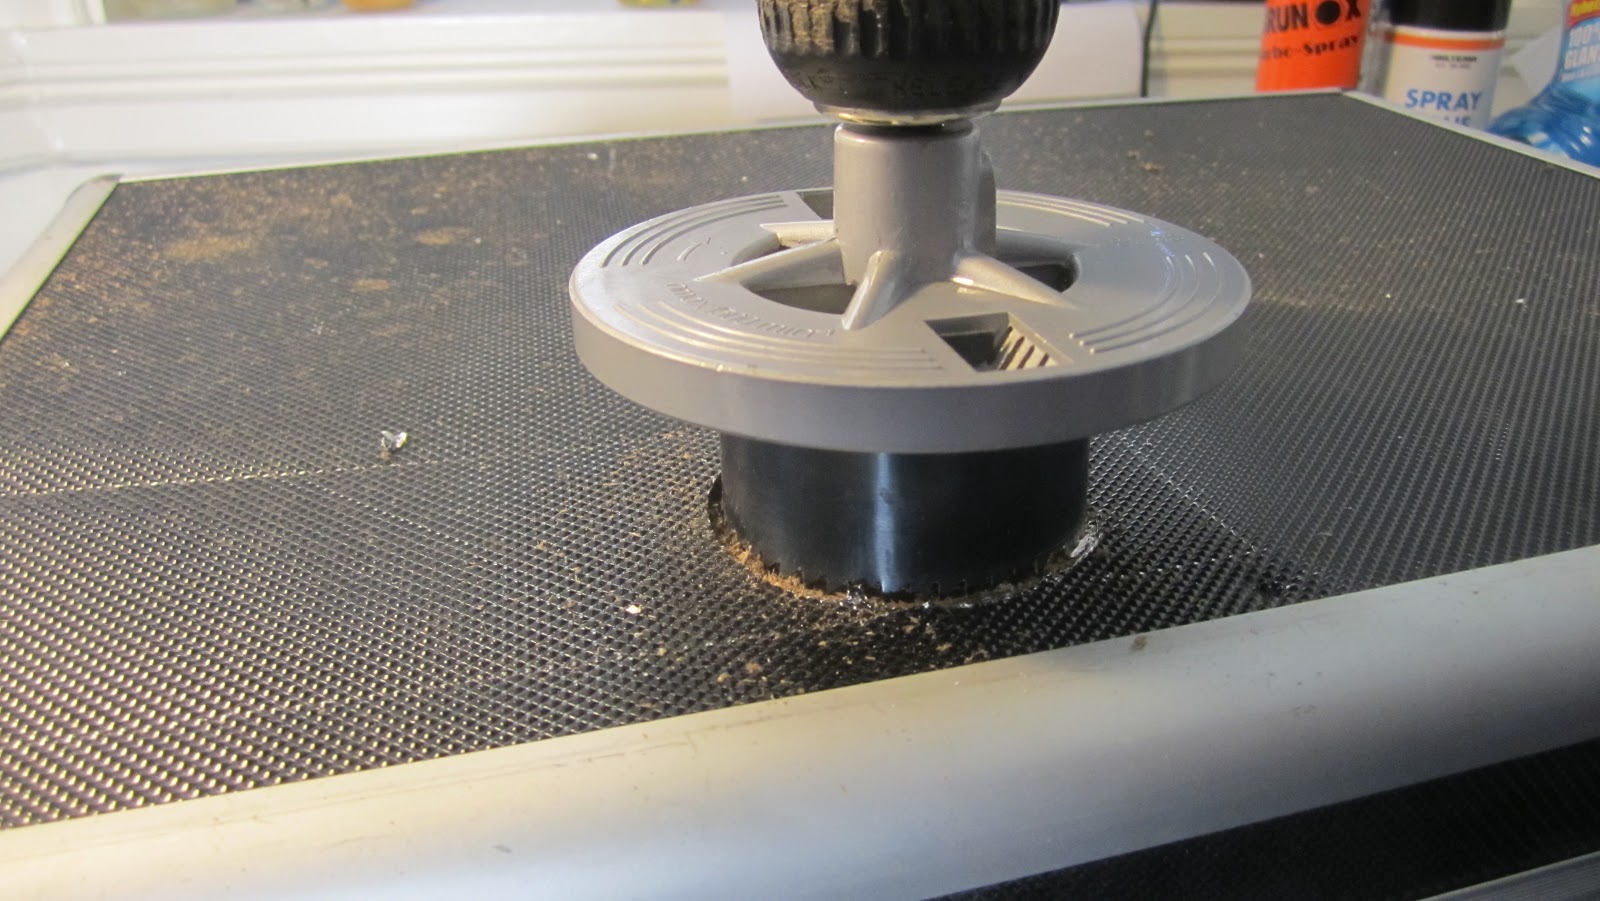
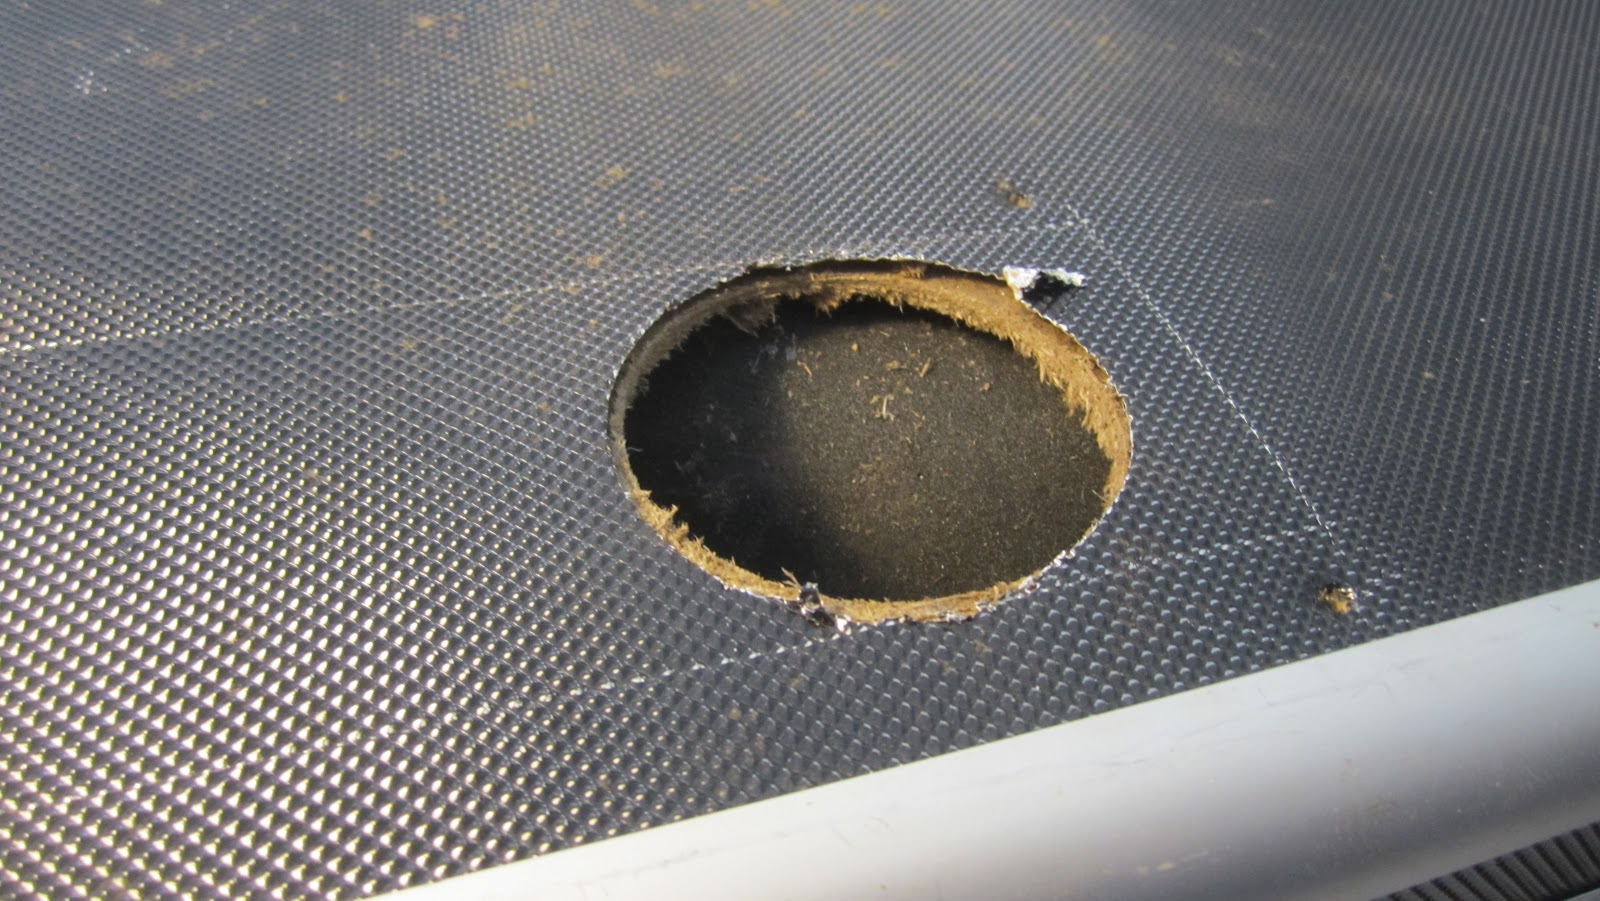
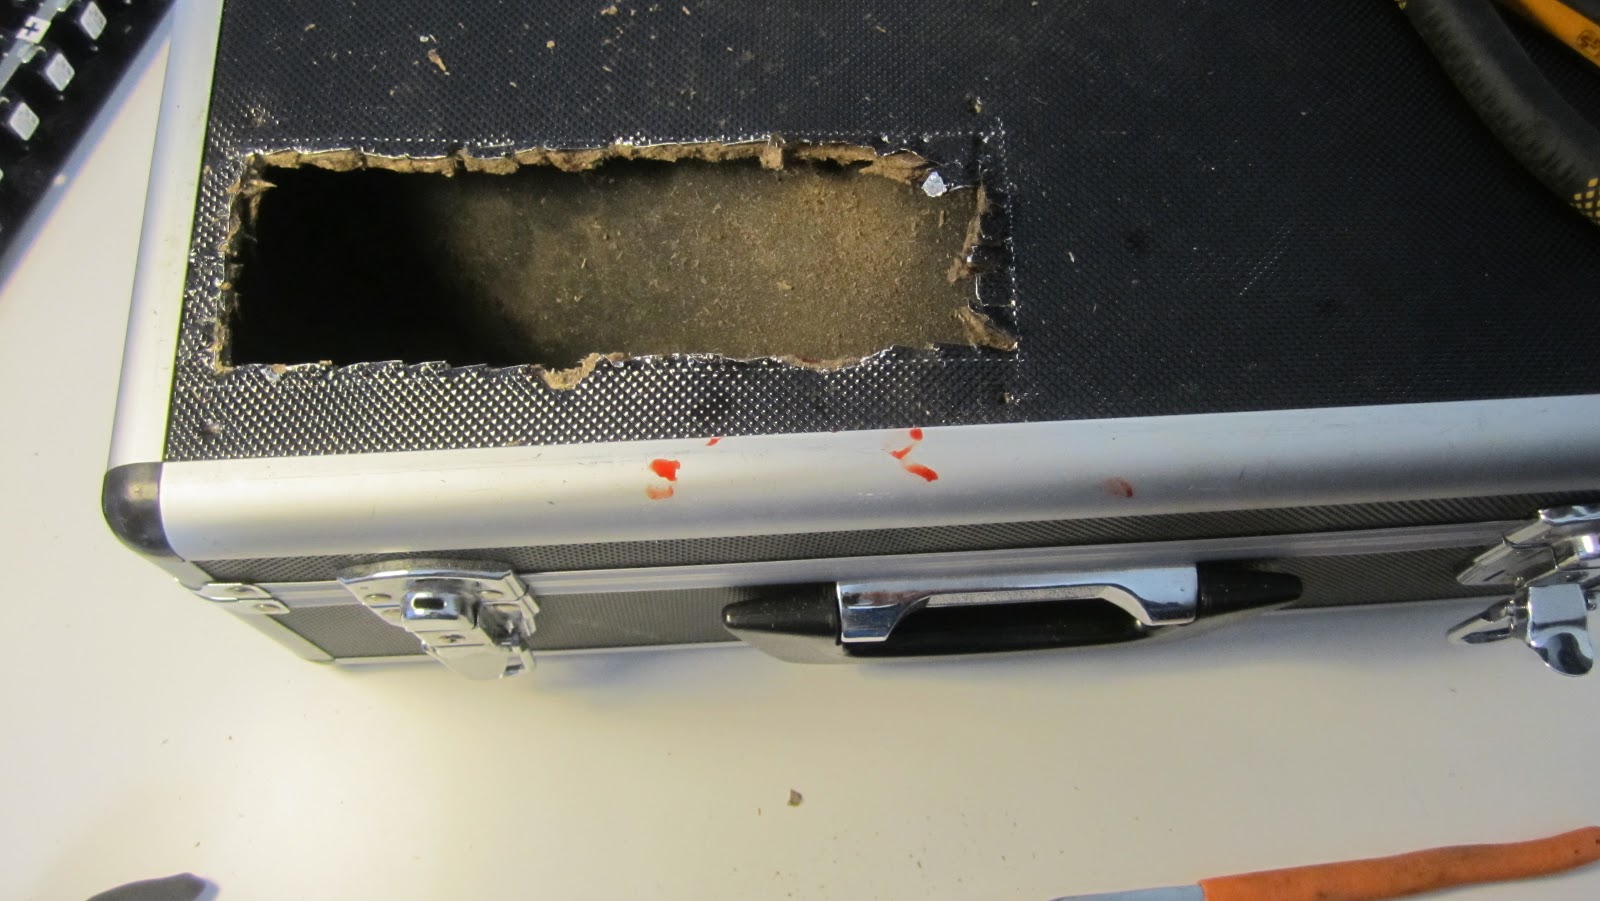
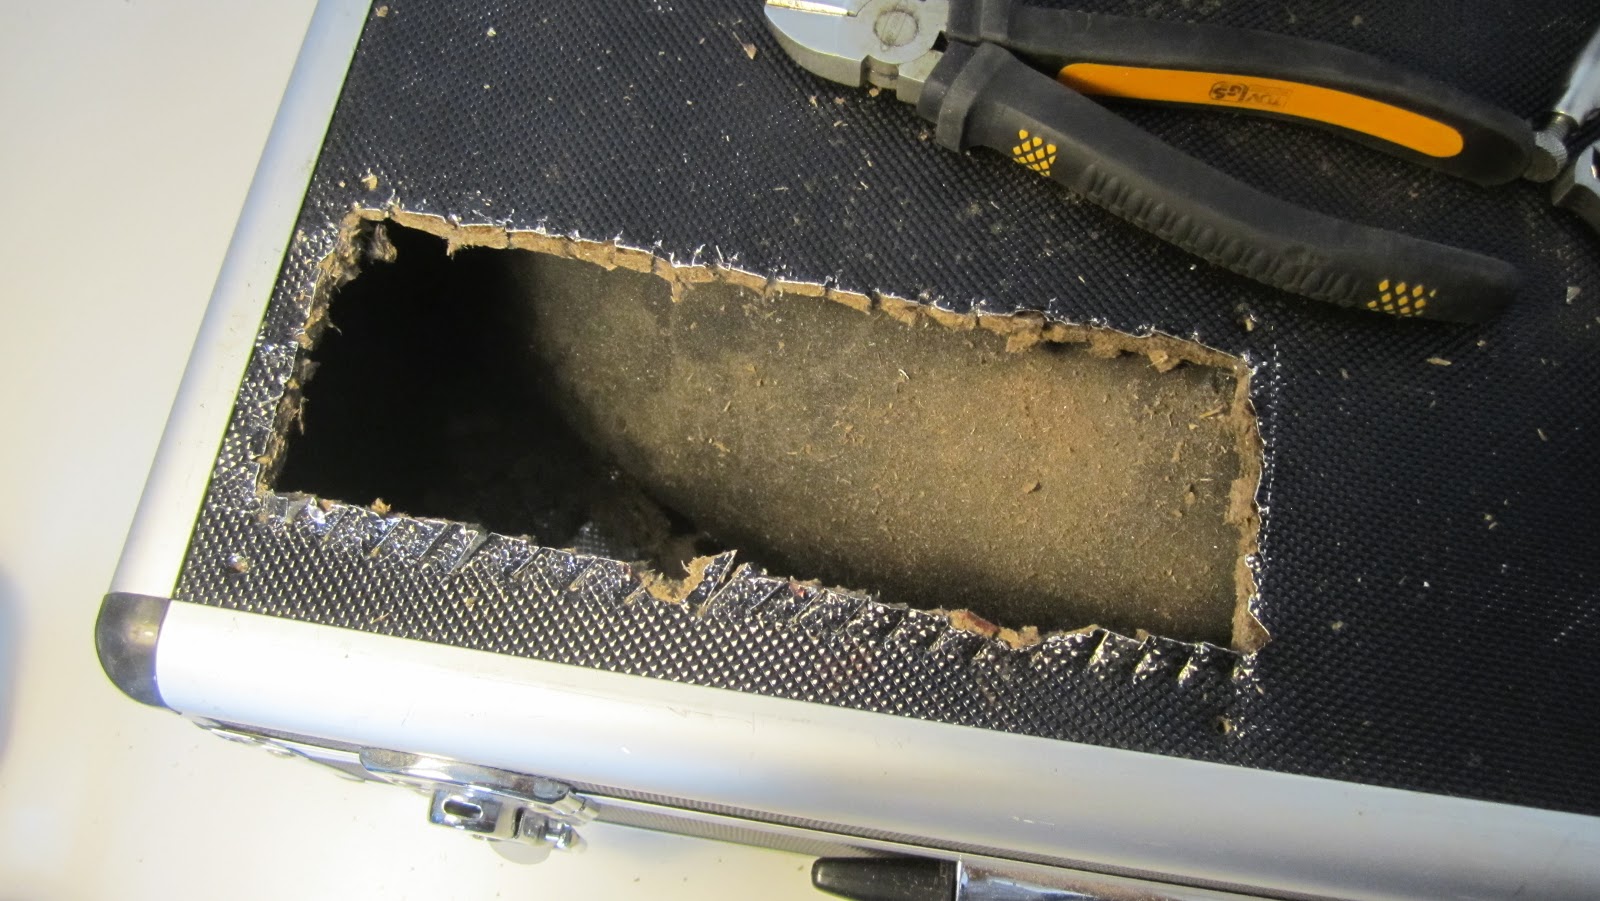
I then proceeded with drilling out a large section using a saw-drill. I used different pliers and cutters to remove the rest of the board within the lines that I drew up.
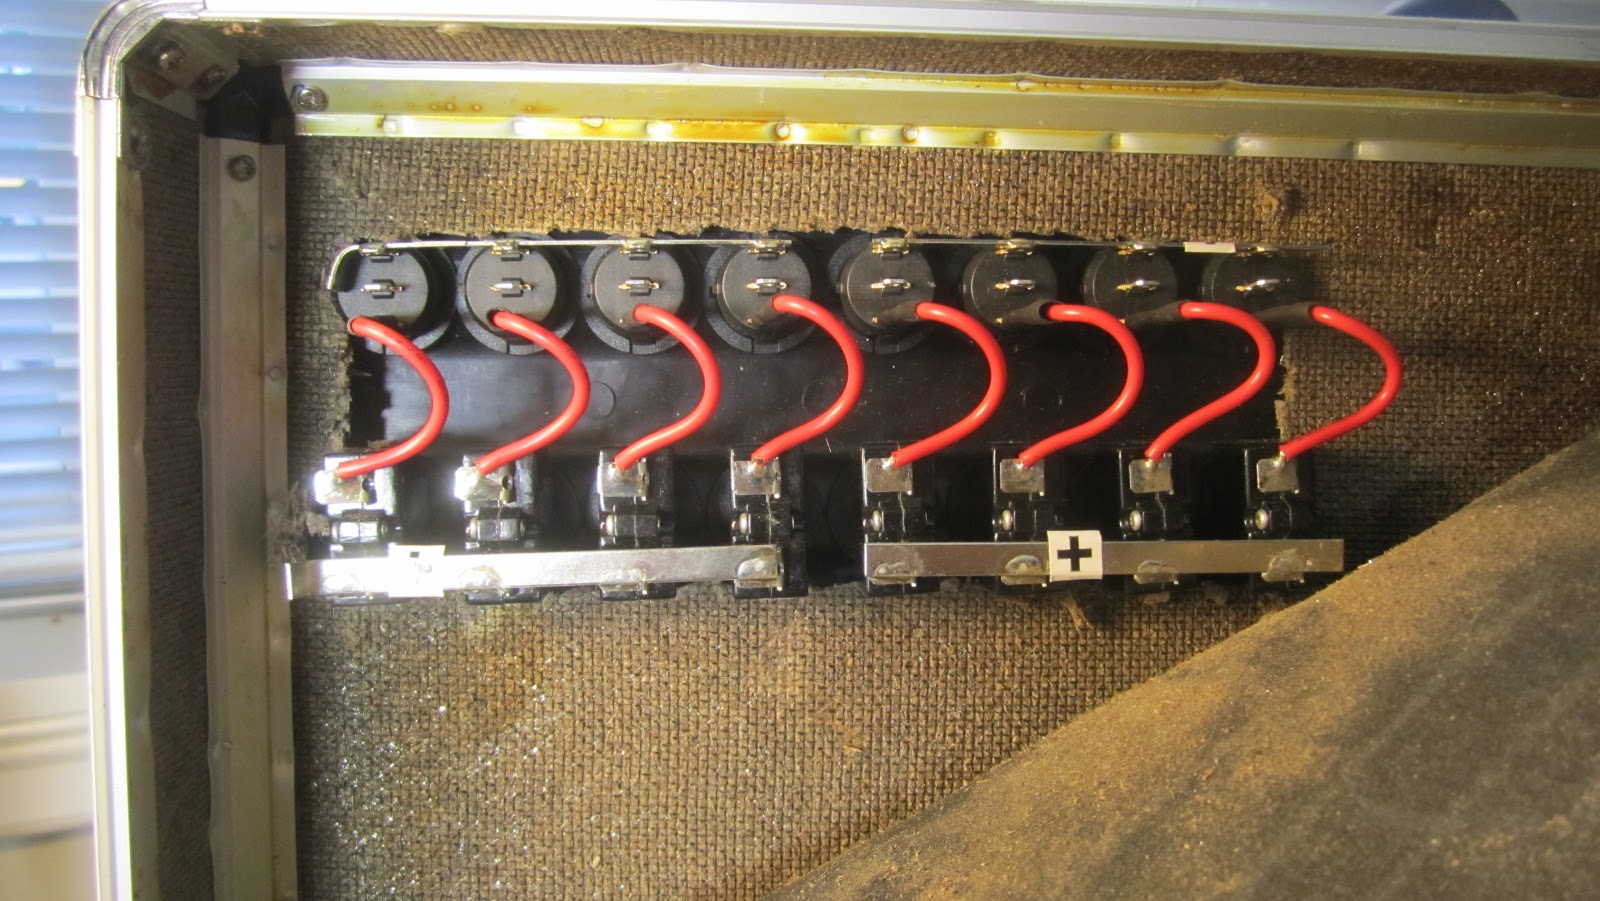
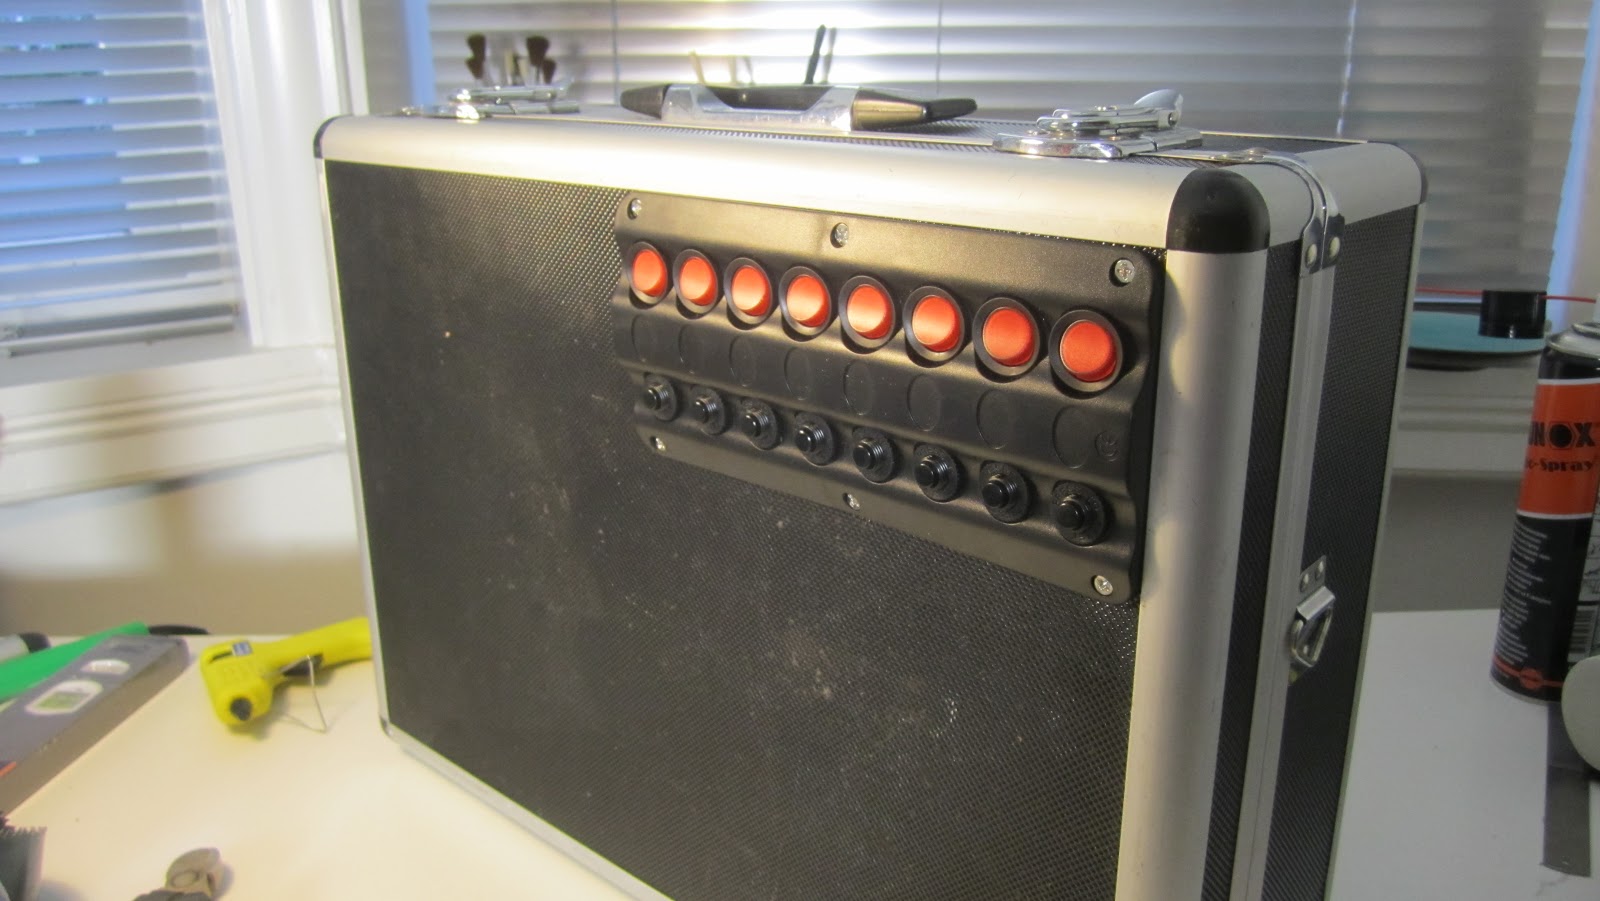
After a lot of sweat and blood (yes, that red stuff in the picture is actually blood), I stuffed the switchboard into the side of the case and secured it with 6 sturdy screws.
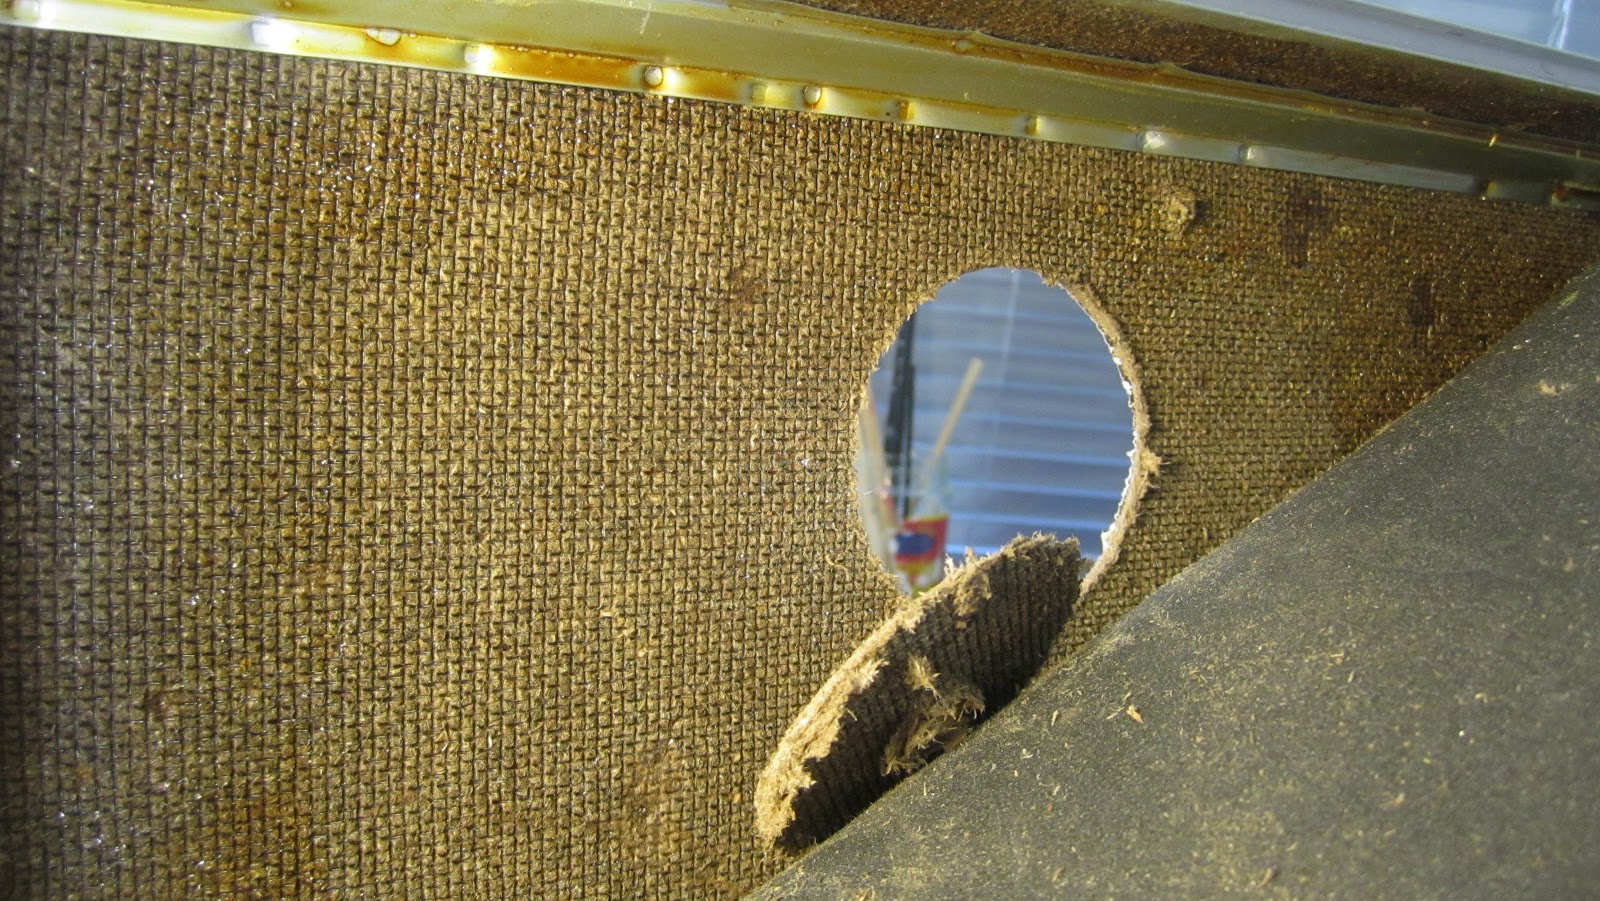
Finishing touches included vacuuming up the debris, cutting a nice hole in the "lining" material in the case.
All I need now is a bunch of banana plugs for connecting gear to the fuses on the fusebox. To be continued.